
Recycled bottle chili plants: who knew turning trash into treasure could be so spicy? I’m so excited to share this incredibly fun and resourceful DIY project with you! For centuries, humans have cultivated chili peppers, adding zest and flavor to cuisines around the globe. From the ancient Aztecs using them in rituals to their widespread use in modern-day dishes, chilies have a rich and vibrant history.
But let’s face it, gardening can sometimes feel intimidating and expensive. That’s where this clever hack comes in! Imagine growing your own fiery chilies, not in a traditional garden bed, but in repurposed plastic bottles. Not only is it a fantastic way to reduce waste and give back to the environment, but it’s also a budget-friendly way to enjoy fresh, homegrown produce.
This DIY project is perfect for anyone, regardless of their gardening experience. Whether you’re a seasoned green thumb or a complete beginner, creating recycled bottle chili plants is a rewarding and sustainable way to add a little spice to your life. Plus, it’s a fantastic conversation starter and a unique way to decorate your balcony, patio, or even your kitchen windowsill. So, grab those empty bottles, and let’s get started on this exciting gardening adventure!
DIY: Growing Chili Plants in Recycled Plastic Bottles
Hey there, fellow gardening enthusiasts! I’m super excited to share one of my favorite DIY projects with you: growing chili plants in recycled plastic bottles. It’s a fantastic way to reduce waste, save money, and add a little spice to your life (literally!). This project is perfect for beginners and experienced gardeners alike. Let’s dive in!
Materials You’ll Need
Before we get started, let’s gather all the necessary materials. Trust me, having everything on hand will make the process much smoother.
* Plastic Bottles: The star of the show! I usually use 2-liter soda bottles or larger water bottles. Make sure they’re clean and free of any residue. You’ll need one bottle per chili plant.
* Chili Seeds or Seedlings: You can start from seeds or buy small chili seedlings from your local garden center. I personally prefer starting from seeds, as it’s more rewarding to watch them grow from scratch.
* Potting Soil: Use a good quality potting mix that’s well-draining. This is crucial for healthy chili plants.
* Gravel or Small Stones: These will help with drainage at the bottom of the bottle.
* Scissors or a Utility Knife: For cutting the plastic bottles. Be careful!
* Drill or Nail: To create drainage holes.
* Watering Can or Spray Bottle: For watering your chili plants.
* Gloves (Optional): To protect your hands.
* Permanent Marker: To label your bottles.
Preparing the Plastic Bottles
This is where we transform those discarded bottles into mini-planters. It’s a simple process, but accuracy is key.
1. Clean the Bottles: Thoroughly wash the plastic bottles with soap and water to remove any dirt or sticky residue. Rinse them well and let them dry completely. This will prevent any mold or bacteria from affecting your plants.
2. Cut the Bottles: Using scissors or a utility knife, carefully cut the bottle in half horizontally. I usually cut it about two-thirds of the way up from the bottom. The bottom part will be the planter, and the top part can be discarded or used for another project (like a mini-greenhouse cover!). Be extra careful when using a utility knife.
3. Create Drainage Holes: This is super important! Chili plants don’t like sitting in soggy soil. Use a drill or a nail to create several drainage holes in the bottom of the bottle. I usually make about 5-6 holes, evenly spaced. If you’re using a nail, heat it up slightly with a lighter (carefully!) to make it easier to pierce the plastic.
4. Add Drainage Layer: Place a layer of gravel or small stones at the bottom of the bottle. This will help improve drainage and prevent the soil from becoming waterlogged. I usually add about an inch or two of gravel.
Planting the Chili Seeds or Seedlings
Now for the fun part – planting! This is where your chili plants will begin their journey.
1. Fill with Potting Soil: Fill the bottle with potting soil, leaving about an inch of space at the top. Gently pat down the soil to remove any air pockets.
2. Plant the Seeds or Seedlings:
* From Seeds: If you’re starting from seeds, make a small hole in the soil (about half an inch deep). Place 2-3 seeds in each hole and cover them gently with soil. Water lightly. I always plant a few extra seeds just in case some don’t germinate.
* From Seedlings: If you’re using seedlings, carefully remove them from their containers. Gently loosen the roots and place the seedling in the center of the bottle. Fill in around the seedling with potting soil, making sure the top of the root ball is level with the soil surface. Water thoroughly.
3. Label the Bottles: Use a permanent marker to label each bottle with the type of chili you’re growing and the date you planted them. This will help you keep track of your plants and know when to expect them to mature.
Caring for Your Chili Plants
Once your chili plants are planted, it’s time to provide them with the care they need to thrive.
1. Watering: Water your chili plants regularly, but don’t overwater them. The soil should be moist but not soggy. I usually water them when the top inch of soil feels dry to the touch. Use a watering can or spray bottle to avoid disturbing the seedlings.
2. Sunlight: Chili plants need plenty of sunlight to grow. Place your bottles in a sunny location that receives at least 6-8 hours of direct sunlight per day. A south-facing window or a sunny balcony is ideal.
3. Fertilizing: Feed your chili plants with a balanced liquid fertilizer every 2-3 weeks. This will provide them with the nutrients they need to grow strong and produce lots of chilies. Follow the instructions on the fertilizer packaging.
4. Temperature: Chili plants prefer warm temperatures. Keep them in a location where the temperature stays between 65-85°F (18-29°C). Protect them from frost and cold drafts.
5. Pest Control: Keep an eye out for pests like aphids, spider mites, and whiteflies. If you notice any pests, treat them with an organic insecticide or insecticidal soap. I like to use neem oil, which is a natural and effective pest control solution.
6. Pruning: As your chili plants grow, you may need to prune them to encourage bushier growth and more fruit production. Remove any dead or yellowing leaves and pinch off the tips of the branches to promote branching.
Troubleshooting
Even with the best care, you might encounter some problems along the way. Here are a few common issues and how to address them:
* Yellowing Leaves: This could be a sign of overwatering, underwatering, or nutrient deficiency. Check the soil moisture and adjust your watering accordingly. If the soil is dry, water more frequently. If the soil is soggy, water less frequently. You may also need to fertilize your plants.
* Drooping Leaves: This could be a sign of underwatering, heat stress, or root rot. Check the soil moisture and adjust your watering accordingly. If it’s hot, move your plants to a cooler location or provide them with some shade. If you suspect root rot, repot your plants in fresh soil.
* Lack of Fruit: This could be due to insufficient sunlight, poor pollination, or nutrient deficiency. Make sure your plants are getting enough sunlight. You can also hand-pollinate the flowers by gently shaking the plants or using a small brush to transfer pollen from one flower to another. Fertilize your plants with a fertilizer that’s high in phosphorus and potassium.
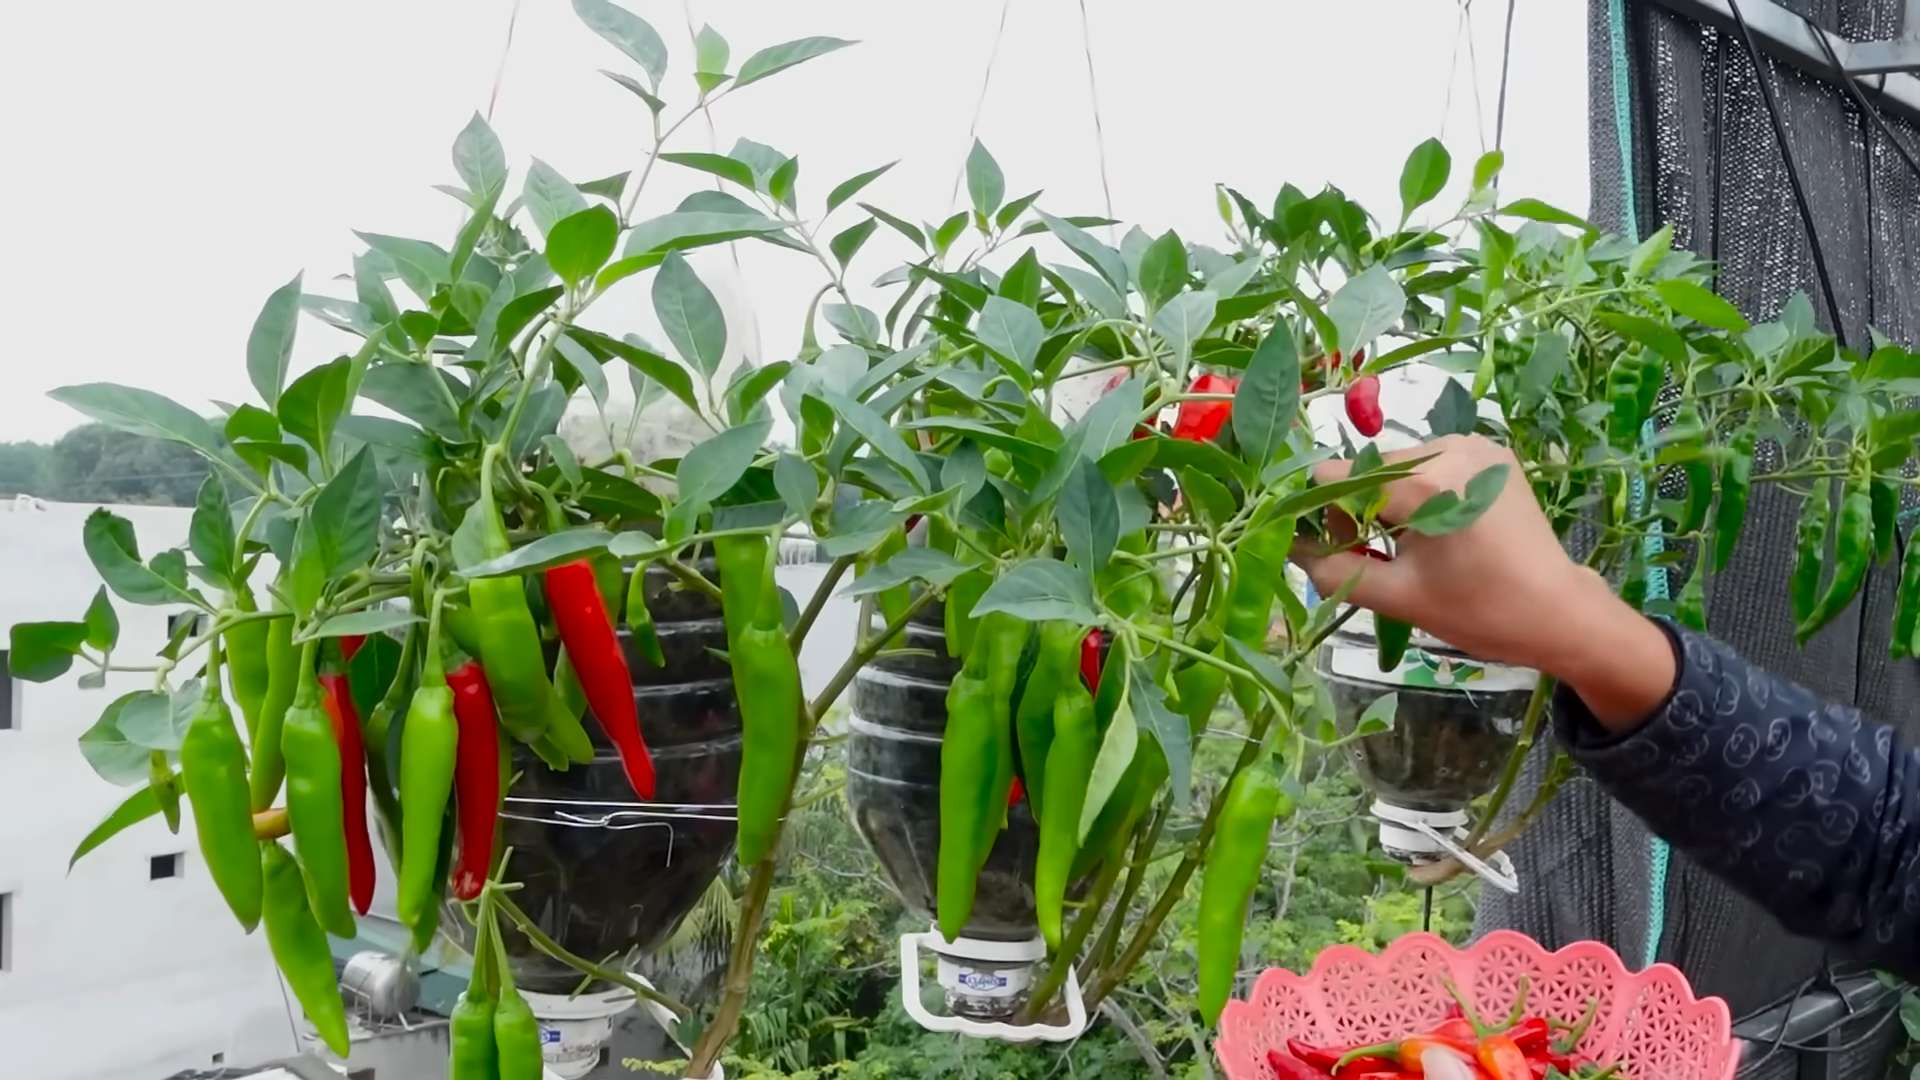
Harvesting Your Chilies
The most rewarding part of growing chili plants is harvesting your own fresh chilies!
1. When to Harvest: Chilies are usually ready to harvest when they’ve reached their mature color and size. The color will vary depending on the type of chili you’re growing. For example, jalapenos are usually harvested when they’re dark green, while cayenne peppers are harvested when they’re bright red.
2. How to Harvest: Use scissors or pruning shears to cut the chilies from the plant. Be careful not to damage the plant.
3. Storing Your Chilies: You can use your chilies fresh, or you can dry them, freeze them, or pickle them. Dried chilies can be stored in an airtight container for several months. Frozen chilies can be stored in a freezer bag for up to a year. Pickled chilies can be stored in a jar in the refrigerator for several weeks.
Tips for Success
Here are a few extra tips to help you succeed with your recycled bottle chili garden:
* Choose the Right Chili Variety: Consider your climate and growing conditions when choosing chili varieties. Some varieties are more tolerant of heat, while others are more tolerant of cold.
* Use Good Quality Potting Soil: Don’t skimp on the potting soil. Use a good quality potting mix that’s well-draining and contains plenty of nutrients.
* Provide Adequate Drainage: Drainage is crucial for healthy chili plants. Make sure your bottles have plenty of drainage holes and that you’ve added a layer of gravel or small stones to the bottom.
* Water Regularly: Water your chili plants regularly, but don’t overwater them. The soil should be moist but not soggy.
* Fertilize Regularly: Feed your chili plants with a balanced liquid fertilizer every 2-3 weeks.
* Protect from Pests: Keep an eye out for pests and treat them promptly with an organic insecticide or insecticidal soap.
* Be Patient: Growing chili plants takes time and patience. Don’t get discouraged if you don’t see results immediately. Just keep providing them with the care they need
Conclusion
So, there you have it! Transforming discarded plastic bottles into thriving homes for your chili plants isn’t just a quirky DIY project; it’s a sustainable, cost-effective, and surprisingly rewarding way to cultivate your own spicy harvest. We’ve walked you through the simple steps, highlighting the benefits of this eco-conscious approach. From reducing plastic waste to creating a self-watering system that minimizes effort and maximizes plant health, this recycled bottle chili plant method offers a multitude of advantages.
Why is this a must-try? Because it’s more than just gardening; it’s a statement. It’s a statement about reducing your environmental footprint, embracing creativity, and enjoying the satisfaction of growing your own food. It’s a statement that even the humblest of materials can be repurposed into something beautiful and productive. Plus, let’s be honest, there’s a certain undeniable charm to seeing vibrant chili plants bursting forth from repurposed bottles. It’s a conversation starter, a testament to your ingenuity, and a source of fresh, fiery flavor right at your fingertips.
But the fun doesn’t stop there! Feel free to experiment with different bottle sizes and shapes to accommodate various chili varieties. Consider painting the bottles with vibrant colors or adding decorative elements to personalize your miniature garden. You could even create a vertical garden by hanging the bottles from a wall or balcony, maximizing space and adding a touch of green to any environment. For those with limited sunlight, consider using grow lights to supplement natural light and ensure optimal plant growth. You can also explore different soil mixes to find the perfect blend for your specific chili variety. Some chili plants thrive in well-draining soil with added perlite, while others prefer a richer, more moisture-retentive mix. Don’t be afraid to experiment and see what works best for you.
Furthermore, think about companion planting. Basil, for example, is known to deter pests and improve the flavor of chili peppers. Planting basil alongside your chili plants in the recycled bottles can create a mutually beneficial relationship. Marigolds are another excellent choice, as they attract beneficial insects and add a splash of color to your garden.
The possibilities are truly endless! The key is to embrace the spirit of experimentation and have fun with the process. This DIY project is not just about growing chili plants; it’s about fostering a connection with nature, reducing waste, and unleashing your creativity.
We wholeheartedly encourage you to give this recycled bottle chili plant method a try. It’s a simple, sustainable, and incredibly rewarding way to grow your own delicious chili peppers. And once you’ve experienced the joy of harvesting your own homegrown chilies, we’d love to hear about it! Share your photos, tips, and experiences with us in the comments below. Let’s create a community of eco-conscious gardeners who are passionate about growing their own food and reducing their environmental impact. We can’t wait to see what you create! Let us know if you have any questions, and happy gardening!
Frequently Asked Questions
What types of chili plants are best suited for growing in recycled bottles?
Most chili varieties can be successfully grown in recycled bottles, especially smaller to medium-sized plants. Popular choices include:
* **Jalapeños:** Relatively compact and easy to manage in smaller containers.
* **Serranos:** Another good option for bottle gardening, offering a good balance of heat and flavor.
* **Thai Chilies:** These prolific producers thrive in warm conditions and are well-suited for container growing.
* **Cayenne Peppers:** While they can grow larger, regular pruning can keep them manageable in bottles.
* **Ornamental Peppers:** These colorful peppers are not only visually appealing but also edible, making them a great choice for adding a touch of flair to your recycled bottle garden.
Consider the size of the mature plant when selecting your chili variety. Larger varieties may require larger bottles or more frequent transplanting.
How often should I water my chili plants grown in recycled bottles?
The frequency of watering depends on several factors, including the size of the bottle, the type of soil, the climate, and the stage of plant growth. However, the self-watering nature of the inverted bottle system helps regulate moisture levels.
Generally, you should check the soil moisture level every few days. If the top inch of soil feels dry to the touch, it’s time to water. When watering, pour water into the top of the bottle until the reservoir is full. Avoid overwatering, as this can lead to root rot.
During hot and dry weather, you may need to water more frequently. Conversely, during cooler or rainy periods, you may need to water less often. Observe your plants closely and adjust your watering schedule accordingly.
What type of soil is best for growing chili plants in recycled bottles?
Chili plants thrive in well-draining soil that is rich in organic matter. A good potting mix for recycled bottle chili plants should consist of:
* **Potting Soil:** Provides a base for the soil mix and helps retain moisture.
* **Compost:** Adds nutrients and improves soil structure.
* **Perlite:** Improves drainage and aeration.
* **Vermiculite:** Helps retain moisture and nutrients.
A good ratio for the soil mix is 2 parts potting soil, 1 part compost, 1 part perlite, and 1 part vermiculite. You can also add a slow-release fertilizer to the soil mix to provide a steady supply of nutrients to your plants.
How much sunlight do chili plants need when grown in recycled bottles?
Chili plants need at least 6-8 hours of direct sunlight per day to thrive. Place your recycled bottle chili plants in a sunny location, such as a south-facing window or balcony. If you don’t have access to enough natural sunlight, you can supplement with grow lights.
How do I fertilize my chili plants grown in recycled bottles?
Chili plants are heavy feeders and require regular fertilization to produce a bountiful harvest. You can fertilize your recycled bottle chili plants with a liquid fertilizer every 2-3 weeks. Choose a fertilizer that is specifically formulated for chili peppers or tomatoes. Follow the instructions on the fertilizer label carefully.
Alternatively, you can use a slow-release fertilizer that is incorporated into the soil mix at planting time. This will provide a steady supply of nutrients to your plants over a longer period.
How do I protect my chili plants from pests and diseases when grown in recycled bottles?
Recycled bottle chili plants are susceptible to the same pests and diseases as chili plants grown in traditional gardens. Common pests include aphids, spider mites, and whiteflies. Common diseases include fungal infections and root rot.
To protect your plants from pests and diseases, follow these tips:
* **Inspect your plants regularly for signs of pests or diseases.**
* **Remove any infected leaves or stems immediately.**
* **Use organic pest control methods, such as insecticidal soap or neem oil.**
* **Ensure good air circulation around your plants.**
* **Avoid overwatering, as this can lead to root rot.**
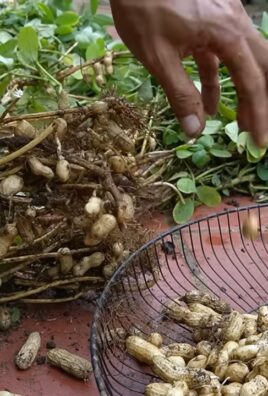
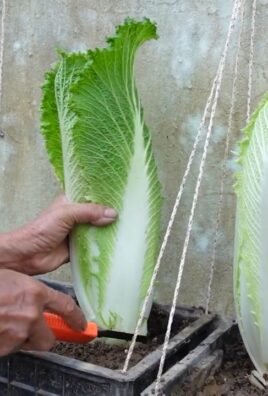
Can I grow other plants besides chili peppers in recycled bottles?
Yes, absolutely! The recycled bottle gardening method is versatile and can be used to grow a wide variety of plants, including herbs, vegetables, and flowers. Some popular choices include:
* **Herbs:** Basil, mint, oregano, thyme, rosemary
* **Vegetables:** Lettuce, spinach, kale, strawberries, tomatoes (smaller varieties)
* **Flowers:** Petunias, pansies, marigolds, impatiens
When selecting plants for recycled bottle gardening, consider their size, growth habits, and sunlight requirements. Smaller plants that don’t require a lot of space are generally the best choices.
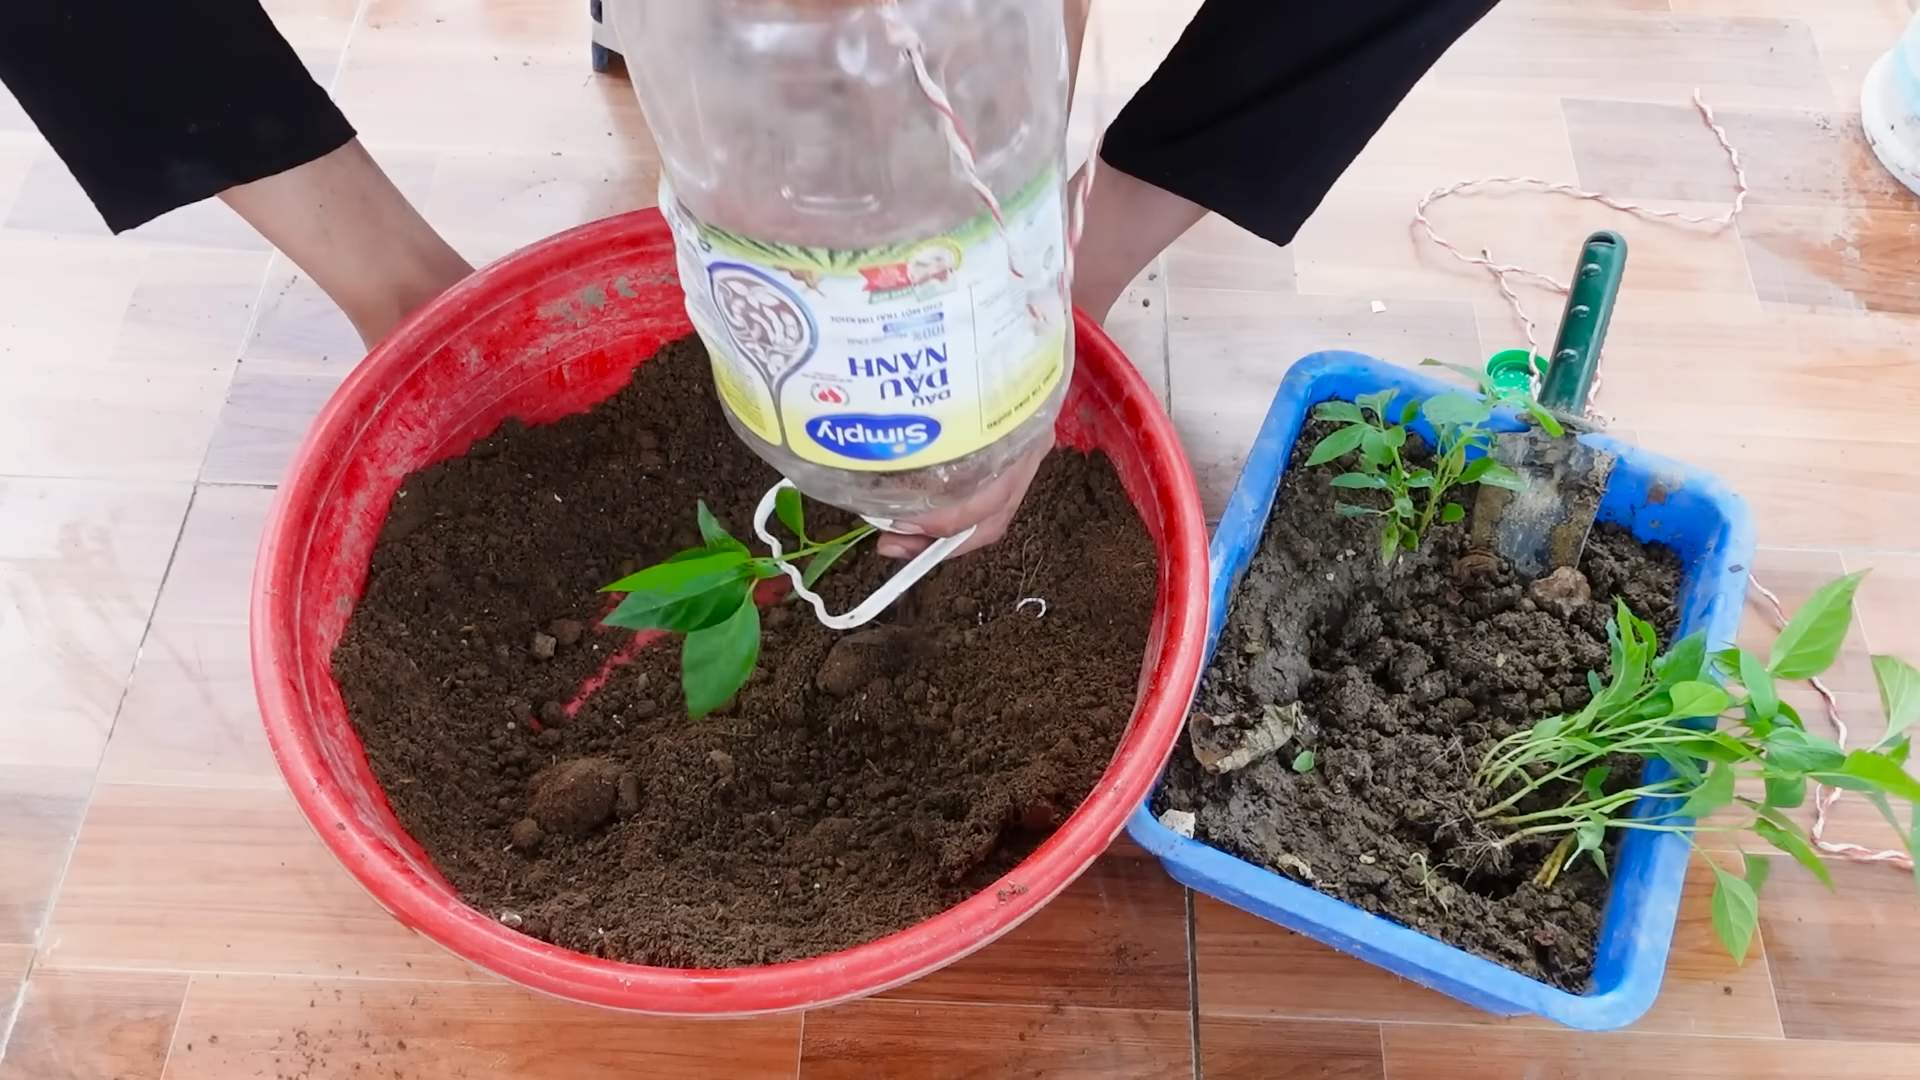
How do I transplant my chili plants from seed trays to recycled bottles?
Once your chili seedlings have developed a few sets of true leaves, they are ready to be transplanted into recycled bottles. Follow these steps:
1. Gently remove the seedlings from the seed tray, being careful not to damage the roots.
2. Prepare the recycled bottle by filling it with the appropriate soil mix.
3. Make a small hole in the center of the soil.
4. Place the seedling in the hole and gently firm the soil around the roots.
5. Water the seedling thoroughly.
6. Place the recycled bottle in a sunny location.
What are some creative ways to decorate my recycled bottle chili plant containers?
There are endless possibilities for decorating your recycled bottle chili plant containers! Here are a few ideas to get you started:
* **Paint the bottles with vibrant colors or patterns.**
* **Wrap the bottles with twine or burlap.**
* **Add decorative stones or pebbles to the top of the soil.**
* **Attach labels with the names of the chili varieties.**
* **Create a vertical garden by hanging the bottles from a wall or balcony.**
* **Use stencils to create unique designs on the bottles.**
Let your creativity shine and personalize your recycled bottle garden to reflect your own style!

Leave a Comment