
Self Watering Greens Setup: Are you dreaming of fresh, vibrant greens gracing your table, but dread the thought of constant watering and tending? I get it! Life gets busy, and sometimes our green thumbs feel more like beige thumbs. But what if I told you there’s a simple, ingenious way to enjoy a bountiful harvest with minimal effort? This DIY guide will unlock the secrets to a thriving self watering greens setup, transforming your gardening experience.
The concept of self-watering has roots stretching back centuries, with evidence of ancient civilizations utilizing similar techniques to cultivate crops in arid regions. Think of the hanging gardens of Babylon, or the ingenious irrigation systems developed by the Incas. While our modern approach might involve plastic containers and wicking materials, the underlying principle remains the same: providing plants with a consistent and readily available water source.
Why is a self watering greens setup so essential for today’s gardener? Because it solves a multitude of problems! It eliminates the guesswork of knowing when and how much to water, preventing both overwatering and underwatering – two common culprits behind plant demise. It’s also a fantastic solution for busy individuals, frequent travelers, or anyone who simply wants to enjoy fresh greens without the daily grind of traditional gardening. Plus, it’s incredibly eco-friendly, reducing water waste and promoting sustainable gardening practices. So, let’s dive in and create your own self-sufficient green oasis!
DIY Self-Watering Greens Setup: Never Forget to Water Again!
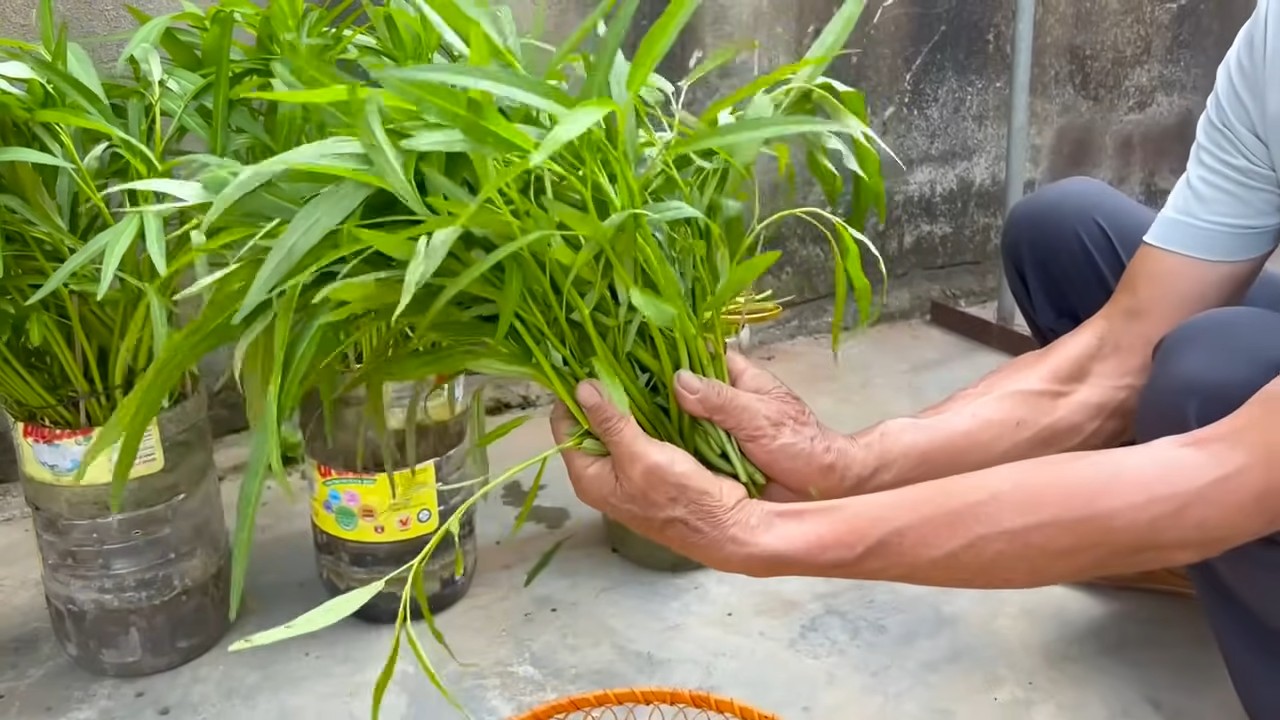
Hey there, fellow plant lovers! Are you tired of forgetting to water your greens, only to find them drooping and sad? Or maybe you’re going on vacation and worried about who will care for your precious leafy babies? Well, fear not! I’m going to show you how to build a super easy and effective self-watering system for your greens that will keep them happy and hydrated, even when you’re not around. This project is perfect for beginners, and you probably already have most of the materials lying around. Let’s get started!
What You’ll Need:
Before we dive in, let’s gather our supplies. This is a pretty low-cost project, which is always a win!
* Two Plastic Containers: One larger container (the reservoir) and one smaller container that can fit inside the larger one with some space around it (the growing container). Think a large storage tote and a smaller, shallower bin. Make sure they are food-grade plastic if you’re growing edibles.
* Wicking Material: This is the key to the whole system! You can use cotton rope, strips of old t-shirt (cotton is best), felt strips, or even old mop heads. The thicker the wicking material, the better it will draw water.
* Potting Mix: Choose a good quality potting mix that drains well. A mix specifically formulated for vegetables or herbs is ideal.
* Drill or Screwdriver: For making drainage holes (if your growing container doesn’t already have them) and holes for the wicks.
* Scissors or Utility Knife: For cutting the wicking material.
* Water: Obviously!
* Greens Seeds or Seedlings: Whatever you want to grow! Lettuce, spinach, kale, arugula – the possibilities are endless.
* Optional: A lid for the reservoir container to reduce evaporation and keep out debris.
Step-by-Step Instructions: Building Your Self-Watering System
Okay, now for the fun part! Let’s put this thing together.
1. Prepare the Growing Container:
* If your smaller container doesn’t already have drainage holes, you’ll need to add some. Drill several holes in the bottom of the container. I usually go for about 6-8 holes, evenly spaced. This will prevent the soil from becoming waterlogged if it gets too much rain (if you’re using this setup outdoors).
* Next, we need to create holes for the wicks. Drill or poke (using a screwdriver) holes near the bottom of the container, on the sides. The number of holes depends on the size of your container, but I recommend at least two, and maybe four for larger containers. These holes should be large enough to thread your wicking material through.
2. Prepare the Wicking Material:
* Cut your wicking material into strips long enough to reach from the bottom of the growing container, down into the reservoir, and still have some length to spare. You want the wicks to be submerged in the water in the reservoir. I usually aim for about 12-18 inches long, depending on the size of my containers.
* If you’re using rope, you might want to fray the ends that will be in the soil to help with water absorption.
3. Thread the Wicks:
* Thread one end of each wick through the holes you made in the growing container. Pull the wicks through so that a good portion of the wick is inside the container. The more wick inside the container, the better it will draw water into the soil.
4. Assemble the System:
* Place the smaller growing container inside the larger reservoir container. Make sure the bottom of the growing container isn’t touching the bottom of the reservoir. You need space for the water!
* Arrange the wicks so that the other ends are hanging down into the reservoir.
5. Add Potting Mix:
* Fill the growing container with your chosen potting mix. Leave about an inch or two of space at the top.
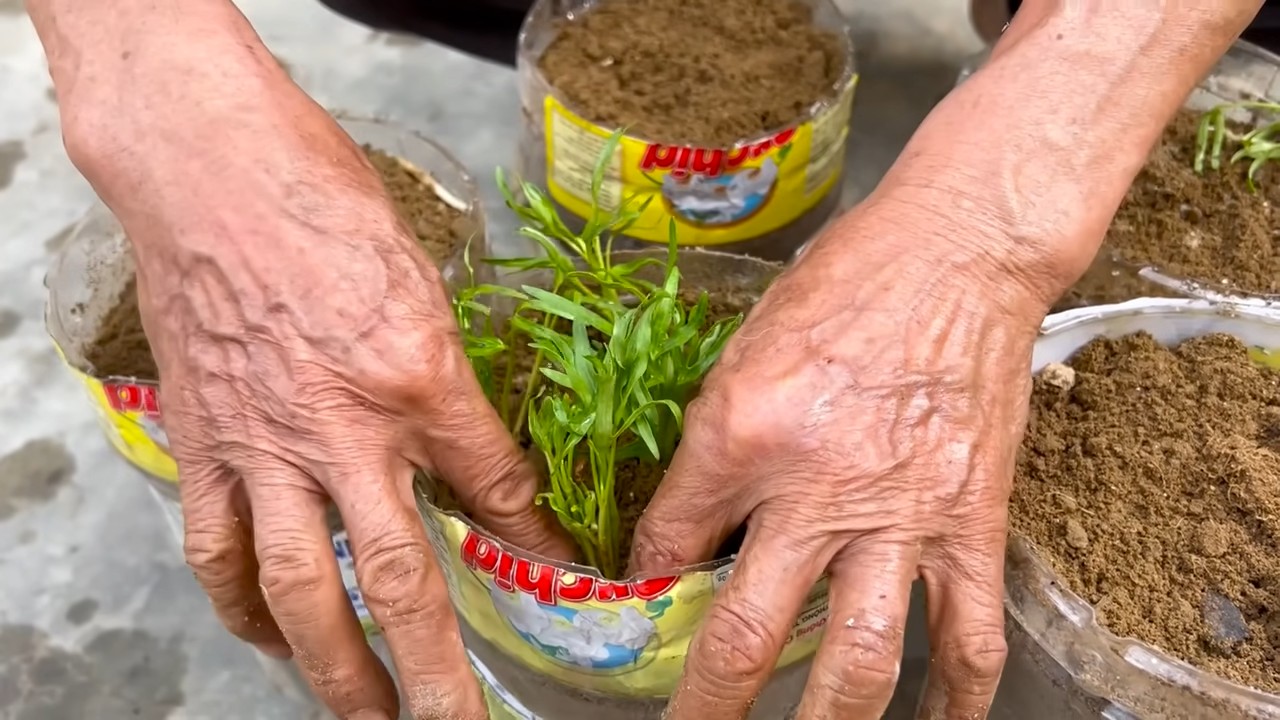
6. Plant Your Greens:
* Now it’s time to plant your seeds or seedlings! Follow the instructions on your seed packet or the recommendations for your specific type of greens.
* Water the potting mix thoroughly after planting. This will help the wicks get started and ensure the soil is moist.
7. Fill the Reservoir:
* Carefully pour water into the reservoir container, making sure the ends of the wicks are submerged. Don’t overfill it! You want to leave some space between the water level and the bottom of the growing container.
8. Monitor and Adjust:
* Keep an eye on the water level in the reservoir. You’ll need to refill it as the plants use the water. How often you need to refill will depend on the size of your container, the type of greens you’re growing, and the weather conditions.
* Check the moisture level of the soil in the growing container. It should be consistently moist, but not soggy. If the soil seems too dry, you might need to add more wicks or use thicker wicking material. If it seems too wet, you might need to use less wicking material or add more drainage holes.
Troubleshooting and Tips for Success
Even with the best-laid plans, things can sometimes go awry. Here are a few common issues you might encounter and how to fix them:
* Soil is too dry:
* Make sure the wicks are properly submerged in the water.
* Try using thicker wicking material or adding more wicks.
* Ensure the potting mix is making good contact with the wicks.
* The reservoir might be too small for the plant’s needs. Consider using a larger reservoir.
* Soil is too wet:
* Reduce the amount of wicking material.
* Add more drainage holes to the growing container.
* Make sure the potting mix is well-draining.
* Don’t overfill the reservoir.
* Algae growth in the reservoir:
* This is common, especially if the reservoir is exposed to sunlight. It’s not usually harmful to the plants, but it can be unsightly.
* Use an opaque container for the reservoir to block out light.
* Clean the reservoir periodically.
* You can add a small amount of hydrogen peroxide to the water to help control algae growth (use a diluted solution).
* Plants are wilting:
* This could be due to a number of factors, including underwatering, overwatering, nutrient deficiencies, or pests.
* Check the moisture level of the soil.
* Make sure the plants are getting enough sunlight.
* Fertilize the plants regularly with a balanced fertilizer.
* Inspect the plants for pests and diseases.
Choosing the Right Location
Where you place your self-watering greens setup is crucial for their success. Greens generally need at least 4-6 hours of sunlight per day. A sunny windowsill, a balcony, or a patio are all good options. If you don’t have enough natural light, you can supplement with grow lights.
Also, consider the temperature. Most greens prefer cooler temperatures, so avoid placing them in direct sunlight during the hottest part of the day.
Choosing the Right Greens
Some greens are better suited for self-watering systems than others. Leafy greens like lettuce, spinach, kale, and arugula are all excellent choices. They have relatively shallow roots and don’t require a lot of water.
Avoid growing root vegetables like carrots or radishes in a self-watering system, as they need more space and can be prone to rot if the soil is consistently wet.
Maintaining Your System
A little maintenance goes a long way in keeping your self-watering system running smoothly.
* Refill the reservoir regularly: Check the water level every few days and refill as needed.
* Fertilize your plants: Even though the system is self-watering, you still need to provide nutrients to your plants. Use a liquid fertilizer diluted according to the package instructions.
* Clean the reservoir periodically: This will help prevent algae growth and keep the system clean.
* Replace the potting mix annually: Over time, the potting mix will become depleted of nutrients. Replacing it annually will ensure your plants have a healthy growing medium.
Adapting the System for Different Plants
While this guide focuses on greens, you can adapt this self-watering system for other types of plants as well. The key is to adjust the size of the containers, the type of potting mix, and the amount of wicking material to suit the specific needs of the plant.
For example, if you’re growing herbs, you might want to use a smaller container and a more well-draining potting mix. If you’re growing larger plants, you’ll need a larger reservoir and more wicking material.
Enjoy Your
Conclusion
So, there you have it! Creating your own self watering greens setup is not just a fun project; it’s a game-changer for anyone who loves fresh herbs and greens but struggles to keep them consistently watered. Think about it: no more wilting lettuce, no more forgotten basil, and no more relying on store-bought greens that lose their vibrancy within days. This DIY approach empowers you to cultivate a thriving mini-garden right in your home, providing a constant supply of flavorful ingredients for your culinary creations.
But the benefits extend beyond mere convenience. By building your own self-watering system, you’re actively reducing water waste. The plants only take up what they need, minimizing runoff and evaporation. You’re also gaining a deeper connection to the food you eat, understanding the simple yet profound process of nurturing life from seed to table. It’s a rewarding experience that fosters a sense of self-sufficiency and environmental responsibility.
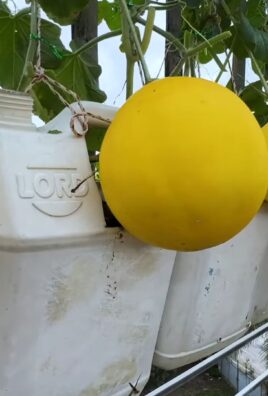
This method is also incredibly versatile. Feel free to experiment with different containers. Upcycle plastic bottles, repurpose old buckets, or even get creative with decorative planters. The key is to ensure proper drainage and a sufficient water reservoir. You can also tailor the soil mix to suit the specific needs of your chosen greens. Leafy greens like spinach and lettuce thrive in well-draining, nutrient-rich soil, while herbs like rosemary and thyme prefer a slightly drier mix.
Consider adding a layer of mulch on top of the soil to further reduce evaporation and suppress weed growth. You can use organic materials like straw, wood chips, or even shredded leaves. This will not only help retain moisture but also enrich the soil as it decomposes.
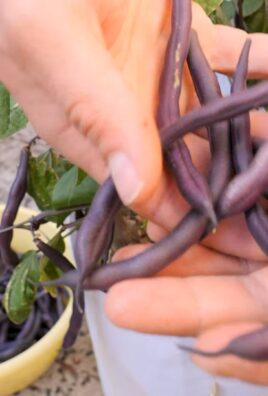
Don’t be afraid to get creative with your plant selection. While leafy greens are an obvious choice, you can also grow herbs like basil, mint, parsley, and cilantro. These herbs are not only delicious but also add a fragrant touch to your indoor garden. You can even try growing small vegetables like radishes or cherry tomatoes, provided you have enough space and sunlight.
The beauty of this DIY project lies in its adaptability. You can adjust the size and design of your self-watering system to fit your available space and personal preferences. Whether you have a sunny windowsill, a balcony, or a dedicated indoor gardening area, you can create a thriving oasis of fresh greens.
We wholeheartedly encourage you to give this self watering greens setup a try. It’s a simple, cost-effective, and incredibly rewarding project that will transform the way you grow and enjoy fresh produce. Once you’ve built your own system, we’d love to hear about your experience! Share your photos, tips, and variations in the comments below. Let’s create a community of thriving indoor gardeners! What greens did you choose? What challenges did you face? What successes did you celebrate? Your insights will help others embark on their own self-watering journey. Happy gardening!
Frequently Asked Questions (FAQ)
What types of containers are best for a DIY self-watering greens setup?
The best containers are those that are food-safe, durable, and allow for proper drainage and a sufficient water reservoir. Plastic containers, such as buckets, bins, or even repurposed plastic bottles, are a popular and affordable option. Terra cotta pots can also be used, but they tend to dry out faster, so you may need to refill the water reservoir more frequently. Avoid using containers that have been used to store chemicals or other harmful substances. The size of the container will depend on the type and quantity of greens you plan to grow. For a small herb garden, a 5-gallon bucket may suffice, while a larger leafy green garden may require a larger container. Ensure the container is opaque or dark-colored to prevent algae growth in the water reservoir.
How often do I need to refill the water reservoir in my self-watering greens setup?
The frequency of refilling the water reservoir will depend on several factors, including the size of the reservoir, the type of greens you’re growing, the temperature, and the humidity. Generally, you should check the water level every few days and refill it when it’s about halfway empty. During hot and dry periods, you may need to refill it more frequently. Conversely, during cooler and more humid periods, you may need to refill it less often. A good rule of thumb is to monitor the moisture level of the soil near the surface. If the soil feels dry to the touch, it’s time to refill the reservoir. Avoid overwatering, as this can lead to root rot.
What type of soil is best for growing greens in a self-watering system?
A well-draining, nutrient-rich soil mix is essential for growing healthy greens in a self-watering system. A good option is a mix of equal parts potting soil, compost, and perlite or vermiculite. The potting soil provides a base for the plants to grow, the compost adds essential nutrients, and the perlite or vermiculite improves drainage and aeration. Avoid using garden soil, as it can be too heavy and compact, which can lead to poor drainage and root rot. You can also purchase pre-made soil mixes specifically designed for growing vegetables or herbs in containers. Consider adding a slow-release fertilizer to the soil mix to provide a steady supply of nutrients to the plants.
What kind of light do my greens need in a self-watering setup?
Most leafy greens and herbs require at least 6 hours of sunlight per day to thrive. If you don’t have a sunny windowsill or outdoor space, you can supplement with artificial grow lights. LED grow lights are a popular and energy-efficient option. Place the grow lights about 6-12 inches above the plants and keep them on for 12-16 hours per day. The type of light spectrum is also important. Greens generally prefer a full-spectrum light that includes both blue and red wavelengths. Blue light promotes leafy growth, while red light promotes flowering and fruiting.
How do I prevent algae growth in the water reservoir?
Algae growth in the water reservoir is a common problem in self-watering systems. To prevent algae growth, use an opaque or dark-colored container to block sunlight from reaching the water. You can also add a small amount of hydrogen peroxide to the water reservoir. Hydrogen peroxide is a natural disinfectant that will kill algae without harming the plants. Another option is to add a few drops of liquid seaweed extract to the water reservoir. Liquid seaweed extract contains beneficial nutrients that will help the plants grow and also inhibit algae growth. Regularly clean the water reservoir to remove any algae buildup.
Can I use this self-watering system for other plants besides greens?
Yes, you can use this self-watering system for other plants besides greens, but you may need to adjust the soil mix, watering frequency, and light requirements to suit the specific needs of the plants. For example, tomatoes and peppers require a well-draining soil mix, plenty of sunlight, and regular fertilization. Succulents and cacti, on the other hand, prefer a sandy soil mix, less frequent watering, and bright, indirect light. Research the specific needs of the plants you want to grow and adjust the self-watering system accordingly.
How do I deal with pests in my self-watering greens setup?
Pests can be a problem in any garden, including self-watering greens setups. To prevent pests, inspect your plants regularly for signs of infestation. Common pests that affect greens include aphids, spider mites, and whiteflies. If you find pests, you can try to remove them manually by handpicking them off the plants or spraying them with a strong stream of water. You can also use insecticidal soap or neem oil to control pests. These are natural and relatively safe options that won’t harm the plants or the environment. Avoid using harsh chemical pesticides, as they can be harmful to your health and the environment.
What are some common problems and solutions with self-watering greens setups?
Some common problems with self-watering greens setups include overwatering, underwatering, nutrient deficiencies, and pest infestations. Overwatering can lead to root rot, while underwatering can cause the plants to wilt and die. Nutrient deficiencies can cause the leaves to turn yellow or brown. Pest infestations can damage the plants and reduce their yield. To prevent these problems, monitor your plants regularly and adjust the watering frequency, fertilization, and pest control measures as needed. Ensure the soil mix is well-draining and the water reservoir is properly functioning. With a little care and attention, you can enjoy a thriving self-watering greens garden.

Leave a Comment