
Shaving Cream Hacks: Who knew that humble can of shaving cream held so much potential beyond just a smooth shave? I’m always on the lookout for clever DIY solutions around the house, and let me tell you, I was blown away by the versatility of this everyday product. For generations, shaving cream has been a staple in grooming routines, but its uses extend far beyond the bathroom mirror. Think back to the days when a simple lather was all it took to prepare for a close shave – now, we’re unlocking a whole new world of possibilities!
In today’s world, we’re all striving to be more resourceful and eco-conscious. Why buy a specialized cleaner or stain remover when you might already have the perfect solution sitting in your bathroom cabinet? That’s where these shaving cream hacks come in. From banishing stubborn stains to creating mesmerizing marbled art, I’m excited to share some of the most surprising and effective ways to put this unassuming product to work. Get ready to ditch the harsh chemicals and embrace the power of shaving cream – you’ll be amazed at what it can do!
DIY Floating Shelves: A Beginner’s Guide
Hey there, fellow DIY enthusiasts! I’m super excited to share one of my favorite projects with you: creating beautiful, modern floating shelves. These shelves are not only stylish but also incredibly functional, adding a touch of elegance to any room. Plus, building them yourself is way more rewarding (and often cheaper!) than buying them pre-made. So, grab your tools, and let’s get started!
Materials You’ll Need
Before we dive in, let’s gather all the necessary materials. This will save you time and frustration later on.
* Wood for the Shelves: I recommend using solid wood like pine, oak, or maple for a sturdy and attractive shelf. The thickness will depend on the weight you plan to put on the shelves, but 1-2 inches is generally a good starting point. You can also use plywood, but you’ll need to edge-band it for a finished look.
* Wood for the Mounting Brackets: You’ll need wood for the internal brackets that will attach to the wall. The same type of wood as your shelves is ideal, but you can use a less expensive option like construction lumber for the brackets since they won’t be visible.
* Metal Rods or Pipes: These will slide into the brackets and provide the main support for the shelves. I prefer using steel rods, but you can also use copper or even PVC pipes, depending on the aesthetic you’re going for and the weight you need to support. Make sure the diameter of the rods matches the holes you’ll be drilling in the brackets.
* Wood Glue: Essential for bonding the shelf pieces together. I recommend a high-quality wood glue for a strong and durable bond.
* Screws: You’ll need screws to attach the brackets to the wall and to secure the shelf pieces together. Choose screws that are appropriate for the type of wood you’re using and the thickness of your wall studs.
* Wood Filler: To fill any gaps or imperfections in the wood.
* Sandpaper: Various grits (80, 120, 220) for smoothing the wood.
* Primer and Paint or Stain: To finish the shelves to your desired color and protect the wood. I personally love using a clear coat to show off the natural wood grain.
* Wall Anchors: If you can’t screw directly into wall studs, you’ll need wall anchors to provide extra support. Choose anchors that are rated for the weight you plan to put on the shelves.
Tools You’ll Need
Having the right tools makes all the difference in a DIY project. Here’s what I recommend:
* Measuring Tape: For accurate measurements.
* Pencil: For marking cut lines and drill locations.
* Saw: To cut the wood to size. A circular saw, miter saw, or hand saw will work.
* Drill: With various drill bits, including a bit that matches the diameter of your metal rods.
* Screwdriver: To drive in the screws.
* Level: To ensure the shelves are perfectly level.
* Stud Finder: To locate the wall studs for secure mounting.
* Clamps: To hold the wood pieces together while the glue dries.
* Sanding Block or Orbital Sander: For smoothing the wood.
* Paintbrushes or Rags: For applying primer, paint, or stain.
* Safety Glasses: To protect your eyes from sawdust and debris.
* Dust Mask: To protect your lungs from sawdust.
Building the Shelves: Step-by-Step Instructions
Okay, let’s get to the fun part! Here’s how to build your own floating shelves:
1. Measure and Cut the Wood
* Measure the Space: First, measure the space where you want to install the shelves. This will determine the length and depth of your shelves.
* Cut the Shelf Pieces: Cut the wood for the shelves to the desired dimensions. If you’re using solid wood, you can simply cut a single piece to size. If you’re using plywood, you’ll need to cut the top, bottom, and side pieces separately.
* Cut the Bracket Pieces: Cut the wood for the mounting brackets. The size of the brackets will depend on the depth of your shelves and the weight you plan to put on them. I usually make my brackets about 2/3 the depth of the shelf. You’ll need two pieces for each bracket: a horizontal piece that will attach to the wall and a vertical piece that will support the shelf.
2. Assemble the Shelves (If Necessary)
* Edge Banding (For Plywood): If you’re using plywood, apply edge banding to the exposed edges to give it a finished look. You can use iron-on edge banding or apply it with wood glue and clamps.
* Glue and Clamp: If you’re building a hollow shelf (using plywood), apply wood glue to the edges of the top, bottom, and side pieces. Clamp the pieces together and let the glue dry completely according to the manufacturer’s instructions. This usually takes at least 24 hours.
* Reinforce with Screws: Once the glue is dry, reinforce the joints with screws. Countersink the screws so they are flush with the surface of the wood.
3. Prepare the Mounting Brackets
* Drill Holes for the Rods: Drill holes through the horizontal pieces of the brackets to accommodate the metal rods. Make sure the holes are perfectly aligned and the same diameter as the rods. Use a drill press for the most accurate results.
* Attach Vertical Supports: Attach the vertical support pieces to the horizontal pieces using wood glue and screws. Make sure the supports are perpendicular to the horizontal pieces.
* Sand the Brackets: Sand the brackets smooth to remove any rough edges or splinters.
4. Sand and Finish the Shelves
* Sand the Shelves: Sand the shelves smooth using progressively finer grits of sandpaper (80, 120, 220). Pay special attention to the edges and corners.
* Fill Imperfections: Fill any gaps or imperfections in the wood with wood filler. Let the filler dry completely and then sand it smooth.
* Apply Primer: Apply a coat of primer to the shelves. This will help the paint or stain adhere better and provide a more even finish.
* Paint or Stain: Once the primer is dry, apply your desired paint or stain. Follow the manufacturer’s instructions for application and drying time. You may need to apply multiple coats for a richer color.
* Apply a Clear Coat (Optional): If you want to protect the finish and add a bit of shine, apply a clear coat.
5. Install the Mounting Brackets
* Locate Wall Studs: Use a stud finder to locate the wall studs. Mark the location of the studs with a pencil.
* Position the Brackets: Position the mounting brackets on the wall, making sure they are level and aligned. Use a level to ensure accuracy.
* Attach to Studs: Attach the brackets to the wall studs using screws. If you can’t screw directly into studs, use wall anchors to provide extra support.
* Ensure Proper Spacing: The spacing between the brackets will depend on the length of your shelf and the weight you plan to put on it. For longer shelves, you may need to use more than two brackets.
6. Slide the Shelves onto the Brackets
* Insert the Rods: Slide the metal rods into the holes in the mounting brackets.
* Position the Shelves: Carefully slide the shelves onto the rods. Make sure the shelves are fully seated and level.
* Secure the Shelves (Optional): If you want to secure the shelves to the brackets, you can drill small holes through the bottom of the shelves and into the rods. Then, insert screws to hold the shelves in place. This is especially important if you plan to put heavy items on the shelves.
Tips and Tricks for Success
* Accurate Measurements are Key: Double-check all your measurements before cutting the wood. A small mistake can throw off the entire project.
* Use a Level: A level is your best friend when installing floating shelves. Make sure the brackets and shelves are perfectly level for a professional-looking result.
* Choose the Right Wall Anchors: If you can’t screw directly into wall studs, choose wall anchors that are rated for the weight you plan to put on the shelves. Overestimating the weight capacity is always a good idea.
* Pre-Drill Holes: Pre-drilling holes before driving in screws will prevent the wood from splitting.
* Take Your Time: Don’t rush the process. Take your time and pay attention to detail for the best results.
* Consider the Weight: Think
Conclusion
So, there you have it! A treasure trove of unexpected uses for that humble can of shaving cream sitting in your bathroom. We’ve explored how this everyday product can transform into a powerful cleaning agent, a stain remover extraordinaire, and even a playful art supply. But why should you bother trying these DIY shaving cream hacks?
Simply put, these tricks are game-changers. They’re cost-effective, utilizing a product you likely already have on hand. They’re surprisingly effective, often outperforming specialized cleaners and removers. And they’re incredibly versatile, offering solutions for a wide range of household challenges. Forget spending a fortune on multiple cleaning products when one can of shaving cream can do it all!
Beyond the practical benefits, these hacks offer a sense of satisfaction. There’s something deeply rewarding about discovering a simple, ingenious solution to a common problem. It’s about resourcefulness, creativity, and a touch of DIY magic.
Ready to take your cleaning and crafting game to the next level? We highly encourage you to experiment with these shaving cream hacks. Start with the easiest one – perhaps cleaning your bathroom mirror – and work your way up. Don’t be afraid to get creative and adapt these techniques to your specific needs.
For instance, if you’re using shaving cream to clean jewelry, consider adding a drop of essential oil like tea tree or lavender for an extra boost of shine and a pleasant scent. When using it as a stain remover, always test a small, inconspicuous area first to ensure colorfastness. And if you’re feeling adventurous, try using different types of shaving cream – gel, foam, or even sensitive skin formulas – to see which works best for each application.
The possibilities are endless! The key is to embrace the spirit of experimentation and discover the hidden potential of this everyday product.
We are confident that once you experience the power of these shaving cream hacks, you’ll wonder how you ever lived without them. So, grab a can, get ready to be amazed, and prepare to unlock a world of DIY possibilities.
But don’t just take our word for it. We want to hear about your experiences! Share your successes, your failures, and your own unique variations in the comments below. Let’s build a community of shaving cream enthusiasts and discover even more innovative ways to utilize this versatile product. Your insights could inspire others and help us all unlock the full potential of these amazing DIY shaving cream hacks.
Frequently Asked Questions (FAQ)
What kind of shaving cream works best for these hacks?
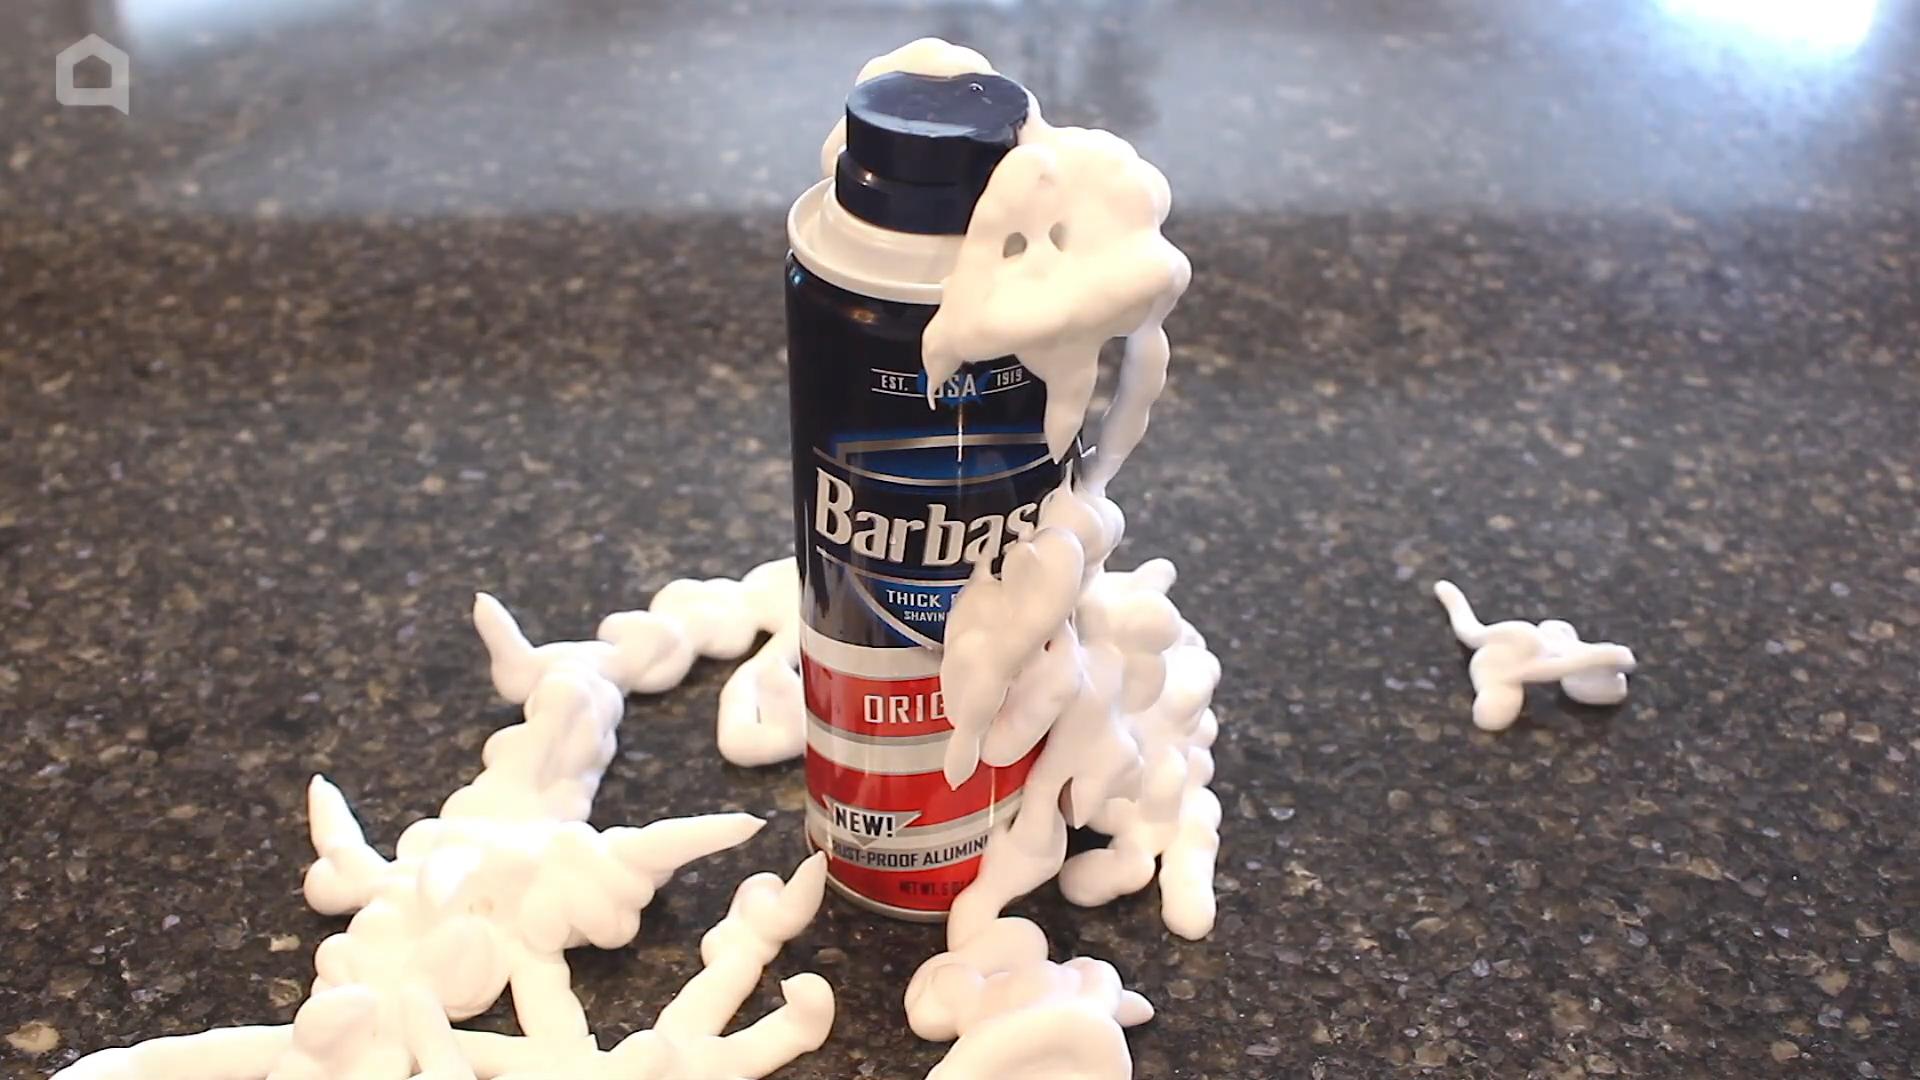
Generally, the classic foamy shaving cream works best for most of these hacks. It’s readily available, inexpensive, and provides the right consistency for cleaning and stain removal. Gel shaving cream can also work, but you might need to use a bit more to achieve the same results. Sensitive skin formulas are also suitable, especially if you have allergies or sensitivities to certain ingredients. Avoid using shaving creams with added moisturizers or oils, as these can sometimes leave a residue. Experiment to see what works best for your specific needs and the task at hand.
Is shaving cream safe to use on all surfaces?
While shaving cream is generally safe for most surfaces, it’s always a good idea to test it in an inconspicuous area first, especially on delicate or valuable items. Avoid using it on porous surfaces like unfinished wood, as it can be absorbed and potentially cause damage. For electronics, use extreme caution and avoid getting any moisture inside the device. When in doubt, consult the manufacturer’s instructions or a professional cleaner.
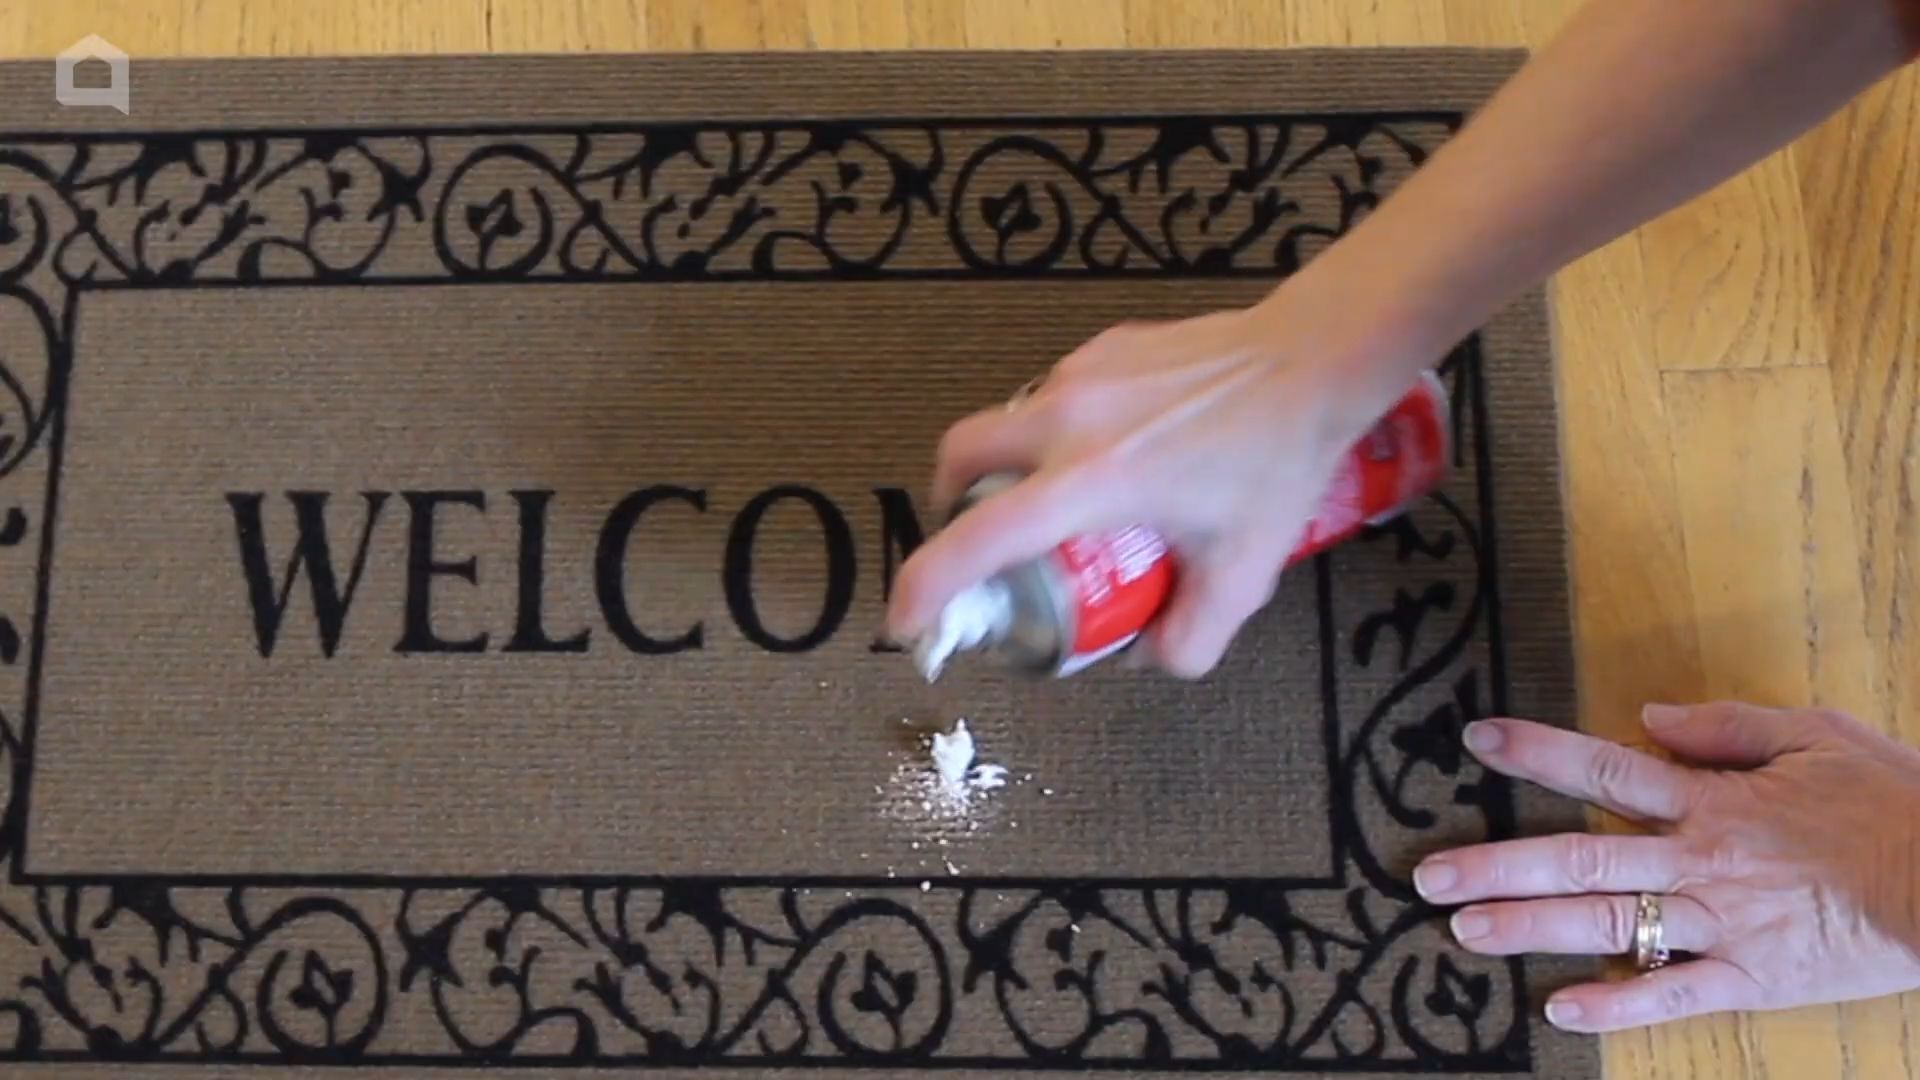
Can I use shaving cream to remove tough stains like grease or ink?
Yes, shaving cream can be surprisingly effective at removing tough stains like grease, ink, and even some types of food stains. Apply a generous amount of shaving cream to the stain, let it sit for a few minutes, and then gently rub it with a clean cloth or sponge. Rinse with water and repeat if necessary. For stubborn stains, you may need to pre-treat the area with a stain remover before applying the shaving cream. Remember to always test in an inconspicuous area first.
Will shaving cream damage my clothes?
Shaving cream is generally safe for most fabrics, but it’s always a good idea to test it in an inconspicuous area first, especially on delicate or brightly colored garments. Avoid using it on fabrics that are dry-clean only. After applying shaving cream to a stain, rinse the area thoroughly with water to remove any residue. If you’re concerned about potential damage, consult a professional cleaner.
How long should I leave shaving cream on a surface before wiping it off?
The amount of time you leave shaving cream on a surface depends on the specific application. For cleaning mirrors and glass, a few seconds is usually sufficient. For stain removal, you may need to let it sit for a few minutes to allow the shaving cream to penetrate the stain. For art projects, the drying time will vary depending on the thickness of the application. Always follow the instructions for the specific hack you’re using and adjust the timing as needed.
Can I use shaving cream to clean my car?
Yes, shaving cream can be used to clean certain parts of your car, such as the windows and mirrors. It can help remove dirt, grime, and even bug splatters. However, avoid using it on the car’s paint, as it can potentially damage the finish. Always test in an inconspicuous area first and rinse thoroughly with water after cleaning.
Is shaving cream safe for children to use in art projects?
While shaving cream is generally safe for children to use in art projects, it’s important to supervise them closely to prevent them from ingesting it. Use non-toxic shaving cream and avoid adding any harmful ingredients like food coloring or glitter. Ensure that children wash their hands thoroughly after handling shaving cream.
Can I use shaving cream to unclog drains?
While shaving cream might help loosen minor clogs, it’s not a substitute for a proper drain cleaner. For stubborn clogs, it’s best to use a drain snake or call a plumber.
Does shaving cream expire?
Shaving cream does have a shelf life, although it may not be explicitly stated on the can. Over time, the ingredients can separate, and the product may lose its effectiveness. It’s best to use shaving cream within a year or two of purchase for optimal results.
Where can I find more DIY shaving cream hacks?
You can find more DIY shaving cream hacks online through websites, blogs, and social media platforms. Search for “shaving cream hacks” or “DIY cleaning tips” to discover a wealth of information and inspiration. Don’t be afraid to experiment and adapt these techniques to your own needs and preferences. Remember to always prioritize safety and test in an inconspicuous area first.

Leave a Comment