
Soil-Free Microgreens Setup: Imagine harvesting vibrant, nutrient-packed greens right from your kitchen counter, without ever getting your hands dirty! Sounds like a dream, right? Well, it’s totally achievable with a soil-free microgreens setup! For centuries, humans have cultivated plants, initially relying on the earth’s embrace. But, as our understanding of plant needs evolved, so did our growing methods. Hydroponics, the art of growing plants without soil, has roots stretching back to ancient civilizations, with the Hanging Gardens of Babylon being a prime example of early soilless cultivation.
Today, we’re bringing that ingenuity into our homes with a simplified, DIY approach to growing microgreens. Why should you embrace this soil-free revolution? Because it’s incredibly convenient, space-saving, and minimizes the risk of soilborne diseases. Plus, it’s a fantastic way to enjoy fresh, healthy greens year-round, regardless of your outdoor space. I’m going to show you how to create your very own thriving soil-free microgreens setup, step-by-step, using simple and affordable materials. Get ready to ditch the dirt and dive into the world of clean, efficient, and delicious home gardening!
DIY Soil-Free Microgreens Setup: A Beginner’s Guide
Hey there, fellow gardening enthusiasts! I’m super excited to share my favorite method for growing microgreens – completely soil-free! It’s cleaner, easier to manage, and honestly, I think the microgreens taste even better. This guide will walk you through building your own hydroponic microgreens setup, step-by-step. Get ready to enjoy fresh, nutrient-packed greens in just a few days!
What You’ll Need: The Essentials
Before we dive in, let’s gather our supplies. Don’t worry, most of these are readily available and won’t break the bank.
* Growing Trays: You’ll need two trays – one with drainage holes (the inner tray) and one without (the outer tray or reservoir). I prefer standard 10×20 inch trays, but you can adjust the size based on your needs.
* Growing Medium: This is where the “soil-free” magic happens! We’ll be using hydroponic grow mats. I recommend coco coir mats or hemp mats. They’re absorbent, sustainable, and provide excellent support for the roots.
* Microgreen Seeds: Choose your favorite varieties! Radish, broccoli, sunflower, pea shoots, and kale are all great options for beginners. Make sure you’re buying seeds specifically intended for microgreens, as they’re often untreated.
* Spray Bottle: A simple spray bottle is essential for keeping the seeds and mats moist during germination.
* Water: Filtered water is best, but tap water that’s been left to sit for 24 hours to allow chlorine to dissipate will also work.
* Weight (Optional): A small weight, like a book or a brick wrapped in plastic, can help with even germination.
* Light Source (Optional): While microgreens can grow indoors with indirect sunlight, a grow light will significantly improve their growth and color. A simple LED shop light works wonders.
* Hydrogen Peroxide (3%): This is optional, but I like to add a small amount to the water to help prevent mold and fungal growth.
Step-by-Step Instructions: Building Your Soil-Free Microgreens Garden
Okay, let’s get our hands dirty (well, not really, since it’s soil-free!). Follow these steps carefully, and you’ll be harvesting delicious microgreens in no time.
1. Prepare the Growing Trays:
* Make sure your growing trays are clean. Wash them with soap and water, and rinse thoroughly. This helps prevent any unwanted bacteria or mold from affecting your microgreens.
* Place the tray with drainage holes (the inner tray) inside the tray without drainage holes (the outer tray). This creates a reservoir for the water.
2. Soak the Growing Medium:
* This is a crucial step! Your chosen grow mat needs to be thoroughly saturated with water before you sow the seeds.
* Place the grow mat in a clean container or sink.
* Pour water over the mat until it’s completely submerged.
* Let it soak for at least 15-20 minutes, or until it’s fully expanded and saturated.
* Gently squeeze out any excess water. The mat should be damp but not dripping.
3. Place the Grow Mat in the Tray:
* Carefully place the soaked grow mat into the inner tray.
* Make sure it fits snugly and covers the entire bottom of the tray. You might need to trim it slightly with scissors if it’s too large.
4. Sow the Microgreen Seeds:
* This is where the magic begins! Evenly distribute the microgreen seeds over the surface of the grow mat.
* The key is to avoid overcrowding. Too many seeds can lead to poor air circulation and increase the risk of mold.
* Refer to the seed packet for recommended seeding density. As a general rule, aim for a single layer of seeds, with a little space between them.
* For smaller seeds like radish or broccoli, you can use a shaker or a spoon to help distribute them evenly.
* For larger seeds like sunflower or pea shoots, you can gently press them into the mat to ensure good contact.
5. Water the Seeds:
* Gently mist the seeds with water using your spray bottle.
* The goal is to moisten the seeds without dislodging them.
* Make sure the entire surface is evenly moistened.
6. Weighting (Optional but Recommended):
* Applying a light weight to the seeds during the first few days of germination can help improve germination rates and create more uniform growth.
* Place a piece of cardboard or another tray on top of the seeds.
* Place a light weight on top of the cardboard or tray. A book or a brick wrapped in plastic works well.
* Make sure the weight is evenly distributed and not too heavy, as this could crush the seeds.
7. Dark Period (Crucial for Germination):
* Microgreens germinate best in the dark. This encourages them to stretch and reach for light, resulting in taller, more robust seedlings.
* Place the tray in a dark location, such as a closet, a cupboard, or under a table.
* Maintain darkness for 2-3 days, or until the seeds have germinated and started to sprout.
8. Monitor Moisture Levels:
* During the dark period, it’s important to monitor the moisture levels of the grow mat.
* Use your spray bottle to mist the seeds and mat as needed to keep them consistently moist.
* Avoid overwatering, as this can lead to mold and fungal growth.
Post-Germination Care: Bringing Your Microgreens to Life
Once your seeds have germinated and started to sprout, it’s time to move them into the light and watch them grow!
1. Introduce Light:
* After the dark period, remove the weight and move the tray to a location with bright, indirect sunlight or under a grow light.
* If using a grow light, position it about 6-12 inches above the tray.
* Provide 12-16 hours of light per day for optimal growth.
2. Watering:
* Continue to monitor the moisture levels of the grow mat.
* Water the microgreens as needed to keep the mat consistently moist.
* Instead of misting, you can now add water directly to the outer tray (the reservoir). The grow mat will wick up the water as needed.
* Avoid overwatering, as this can lead to root rot and other problems.
* I like to add a small amount of 3% hydrogen peroxide (about 1 teaspoon per quart of water) to the reservoir to help prevent mold and fungal growth.
3. Air Circulation:
* Good air circulation is essential for preventing mold and fungal growth.
* Make sure the growing area is well-ventilated.
* You can use a small fan to gently circulate the air around the microgreens.
4. Monitoring for Mold:
* Keep a close eye on your microgreens for any signs of mold or fungal growth.
* Mold typically appears as white or gray fuzzy patches on the seeds, stems, or leaves.
* If you spot any mold, remove the affected areas immediately.
* Improve air circulation and reduce humidity to prevent further mold growth.
* If the mold is widespread, it’s best to discard the entire batch and start over.
Harvesting Your Soil-Free Microgreens: Time to Enjoy!
The best part! Your microgreens are ready to harvest when they have developed their first set of true leaves (the second set of leaves after the initial seed leaves). This usually takes about 7-14 days, depending on the variety.
1. Harvesting:
* Use clean scissors or a sharp knife to cut the microgreens just above the grow mat.
* Harvest only what you need, and leave the rest to continue growing.
2. Washing:
* Gently wash the harvested microgreens in cool water to remove any debris.
3. Storing:
* Pat the microgreens dry with a paper towel.
* Store them in a sealed container in the refrigerator for up to a week.
Troubleshooting: Common Issues and Solutions
Even with the best care, you might encounter a few challenges along the way. Here are some common issues and how to address them:
* Poor Germination:
* Possible causes: Old seeds, improper watering, temperature fluctuations.
* Solutions: Use fresh seeds, ensure consistent moisture levels, maintain a stable temperature.
* Mold Growth:
* Possible causes: Overwatering, poor air circulation,

Conclusion
So, there you have it! A simple, effective, and incredibly rewarding way to cultivate your own vibrant microgreens, completely free from the constraints of soil. This **soil-free microgreens setup** is more than just a gardening project; it’s a gateway to fresh, nutrient-packed greens right at your fingertips, regardless of your space limitations or gardening experience.
We’ve walked you through the process, highlighting the ease and accessibility of this method. The benefits are undeniable: cleaner harvests, reduced risk of soilborne diseases, and a faster growth cycle. Imagine snipping fresh radish microgreens to add a peppery kick to your salad, or sprinkling sunflower sprouts onto your avocado toast for a nutty crunch. The possibilities are endless!
But the beauty of this DIY project lies not only in its simplicity but also in its adaptability. Feel free to experiment with different types of seeds. Broccoli, kale, arugula, and even peas are excellent choices for soil-free microgreens. Consider using different containers, too. While we’ve suggested trays, you could repurpose plastic containers, glass jars, or even shallow bowls. Just ensure they are clean and allow for proper drainage.
Another variation to explore is the type of growing medium. While paper towels are a readily available and cost-effective option, you can also use hemp mats, coconut coir, or even reusable microfiber cloths. Each medium offers slightly different moisture retention and aeration properties, so experiment to find what works best for your chosen seeds and environment.
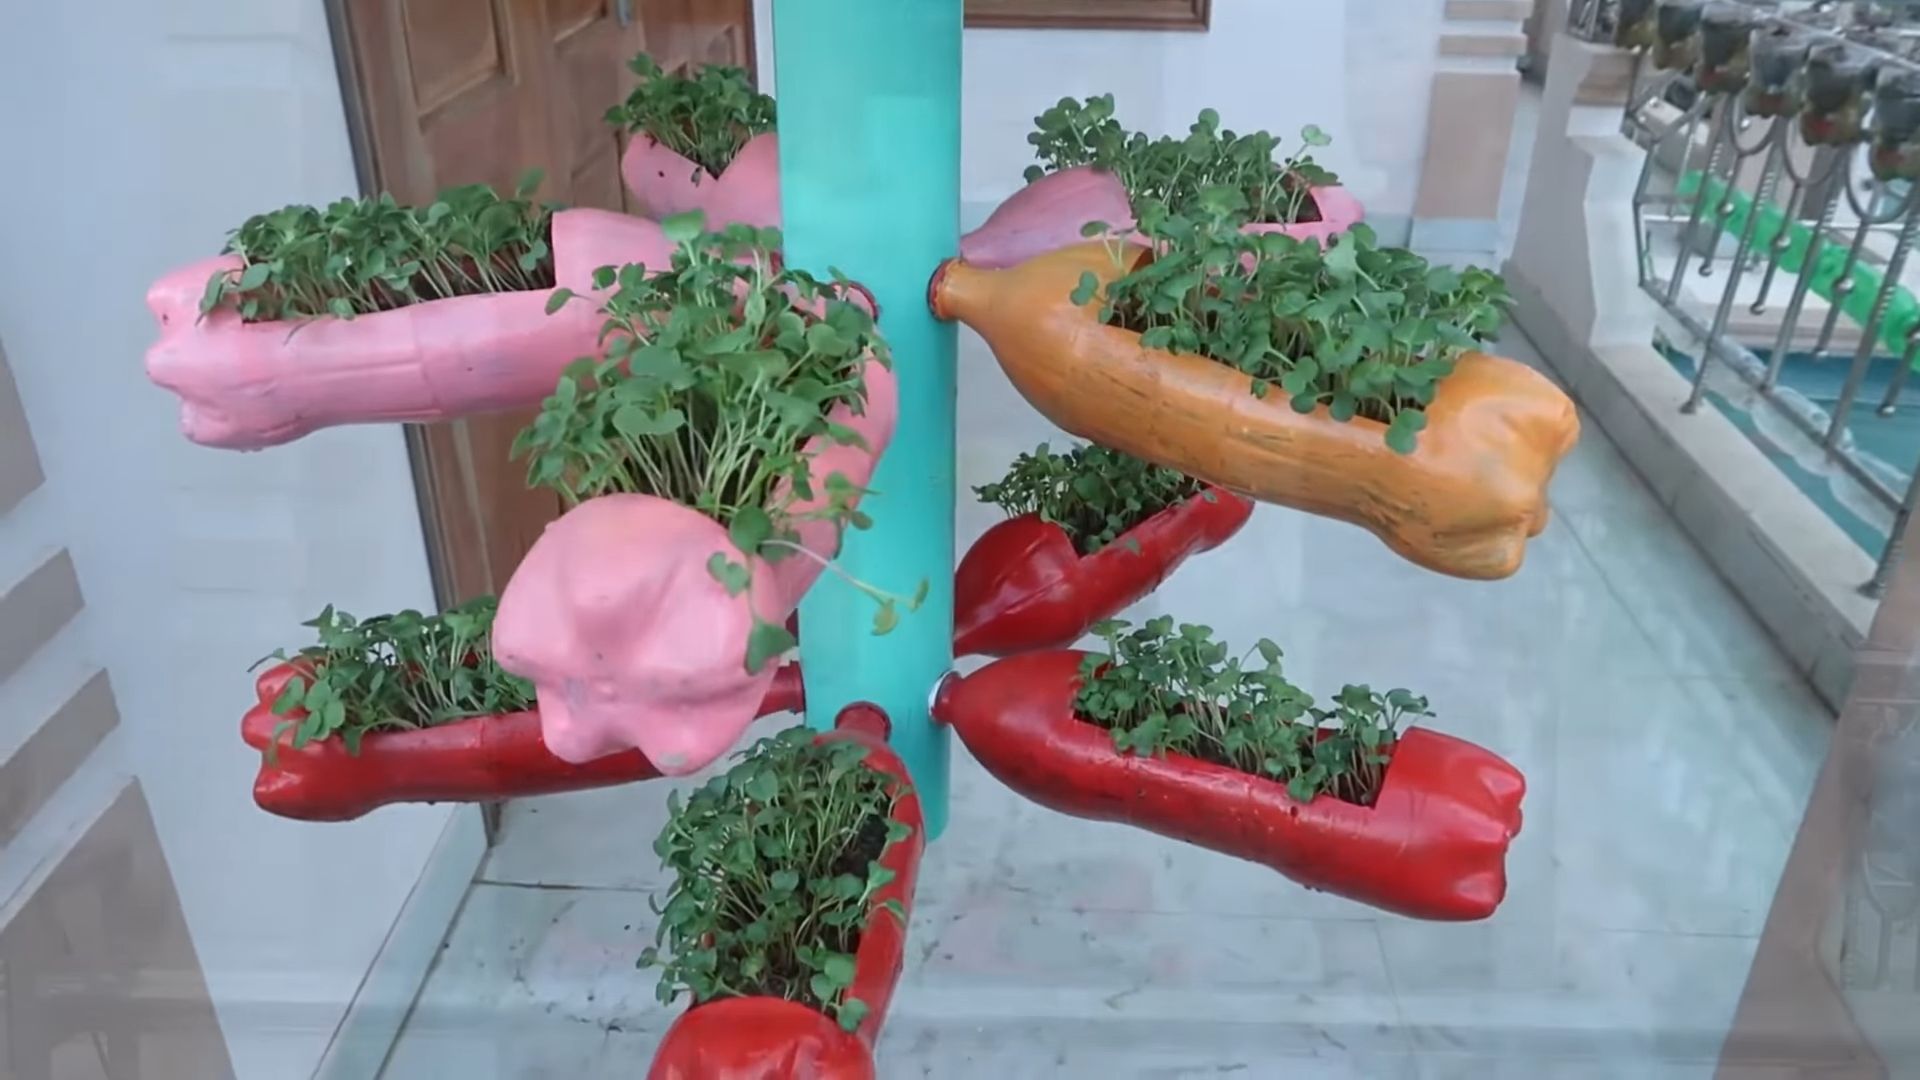
Don’t be afraid to get creative with your setup! You can even build a tiered system to maximize space and create a visually appealing microgreen garden. Think vertically! A simple shelving unit near a sunny window can transform into a thriving indoor farm.
The key to success with this **soil-free microgreens setup** is consistent moisture and adequate light. Remember to mist your seeds regularly and provide them with at least a few hours of indirect sunlight each day. Observe your microgreens closely, and adjust your watering schedule as needed.
We are confident that you’ll find this DIY trick to be a game-changer in your quest for fresh, healthy food. It’s a sustainable, cost-effective, and incredibly satisfying way to add a burst of flavor and nutrition to your meals.
Now, it’s your turn! We encourage you to give this **soil-free microgreens setup** a try. Don’t be intimidated by the idea of gardening; this method is incredibly forgiving and perfect for beginners. Once you’ve harvested your first batch of microgreens, we’d love to hear about your experience. Share your photos, tips, and variations in the comments below. Let’s build a community of soil-free microgreen enthusiasts! We are eager to see your creations and learn from your experiences. Happy growing!
Frequently Asked Questions (FAQ)
What are the benefits of growing microgreens without soil?
Growing microgreens without soil offers several advantages. Firstly, it significantly reduces the risk of soilborne diseases and pests, leading to cleaner and healthier harvests. Secondly, it simplifies the growing process, eliminating the need for soil preparation and management. Thirdly, it often results in faster germination and growth rates compared to traditional soil-based methods. Finally, it’s a more space-efficient method, making it ideal for urban dwellers or anyone with limited gardening space. This **soil-free microgreens setup** also allows for easier cleanup and disposal of growing medium.
What types of seeds are best suited for soil-free microgreens?
Many different types of seeds can be successfully grown as microgreens without soil. Some popular choices include:
* **Brassicas:** Broccoli, kale, cabbage, arugula, radish, mustard
* **Legumes:** Peas, lentils, chickpeas
* **Grains:** Wheatgrass, barley, oats
* **Amaranths:** Amaranth, quinoa
* **Other:** Sunflower, basil, cilantro
Experiment with different varieties to discover your favorites. Consider the flavor profile, growth rate, and nutritional content of each seed when making your selection.
How often should I water my soil-free microgreens?
The frequency of watering depends on several factors, including the type of growing medium, the ambient temperature, and the humidity level. Generally, you should aim to keep the growing medium consistently moist but not waterlogged. Check the moisture level at least once a day, and mist the seeds or sprouts whenever the surface appears dry. Avoid overwatering, as this can lead to mold growth and seed rot. A good rule of thumb is to mist lightly in the morning and evening.
What type of lighting is required for soil-free microgreens?
Microgreens need adequate light to thrive. While direct sunlight can be too intense and scorch the delicate sprouts, indirect sunlight or artificial grow lights are ideal. Place your microgreens near a sunny window that receives at least a few hours of indirect sunlight each day. If natural light is limited, consider using a fluorescent or LED grow light. Position the light a few inches above the sprouts and keep it on for 12-16 hours per day.
How long does it take for microgreens to grow in a soil-free setup?
The growth time for microgreens varies depending on the type of seed and the environmental conditions. Generally, most microgreens are ready to harvest within 7-14 days. Radish and mustard greens tend to be among the fastest-growing, while sunflower and pea shoots may take a bit longer. Monitor your microgreens closely and harvest them when they have developed their first set of true leaves.
How do I prevent mold growth in my soil-free microgreens setup?
Mold growth can be a common problem in soil-free microgreen setups, especially in humid environments. To prevent mold, ensure adequate ventilation, avoid overwatering, and use a clean growing medium. You can also add a small amount of hydrogen peroxide to your misting water to help inhibit mold growth. If you notice any mold, remove the affected area immediately and improve ventilation.
How do I harvest my soil-free microgreens?
Harvesting microgreens is easy. Simply use a pair of scissors or a sharp knife to cut the stems just above the growing medium. Wash the microgreens thoroughly before using them. It’s best to harvest microgreens just before you plan to use them for optimal flavor and freshness.
Can I reuse the growing medium in my soil-free microgreens setup?
While some growing mediums, such as coconut coir, can be composted after use, paper towels are generally not reusable. It’s best to discard the used paper towels after each harvest to prevent the spread of diseases and pests. If you’re using a reusable growing medium like hemp mats or microfiber cloths, be sure to wash them thoroughly with soap and water before reusing them.
What are some creative ways to use microgreens in my meals?
Microgreens are incredibly versatile and can be used in a wide variety of dishes. Add them to salads, sandwiches, wraps, and smoothies for a boost of flavor and nutrition. Use them as a garnish for soups, stews, and entrees. Sprinkle them on top of avocado toast, eggs, or pizza. Incorporate them into dips, sauces, and dressings. The possibilities are endless!
Is this soil-free microgreens setup safe for my pets?
While most microgreens are safe for pets in small quantities, it’s always best to consult with your veterinarian before introducing new foods into your pet’s diet. Some microgreens, such as those from the onion family, can be toxic to pets. Always supervise your pets around your microgreen setup to prevent them from overeating or damaging the plants.
Leave a Comment