
Spinach garden DIY projects are a fantastic way to bring fresh, nutritious greens right to your doorstep! Have you ever dreamed of snipping vibrant, leafy spinach for your salad just moments before you eat it? Or perhaps you’re tired of the wilted, overpriced spinach at the grocery store? Well, you’re in the right place! This article is packed with easy-to-follow DIY tricks and hacks that will transform even the smallest space into a thriving spinach haven.
Spinach has a rich history, dating back over 2,000 years to ancient Persia. It gradually spread across the globe, becoming a staple in cuisines worldwide. Beyond its delicious taste, spinach is a nutritional powerhouse, packed with vitamins, minerals, and antioxidants. Growing your own spinach garden DIY style allows you to control exactly what goes into your food, ensuring it’s free from harmful pesticides and full of flavor.
In today’s busy world, many of us crave a connection to nature and a way to eat healthier. This article will empower you to create your own little green oasis, regardless of your gardening experience. We’ll cover everything from choosing the right varieties to simple pest control methods. Get ready to roll up your sleeves and discover the joy of growing your own spinach!
Dein eigener Spinatgarten: Ein DIY-Leitfaden für Anfänger
Hallo Gartenfreunde! Ich freue mich riesig, euch heute zu zeigen, wie ihr euren eigenen Spinatgarten anlegen könnt. Spinat ist super einfach anzubauen, mega gesund und schmeckt frisch aus dem Garten einfach unschlagbar. Egal, ob du einen großen Garten, einen kleinen Balkon oder nur ein sonniges Fensterbrett hast, Spinat findet überall Platz. Also, krempeln wir die Ärmel hoch und legen los!
Was du für deinen Spinatgarten brauchst:
* Spinatsamen: Wähle eine Sorte, die zu deinem Klima passt. Es gibt verschiedene Sorten, die sich in Geschmack, Größe und Hitzeresistenz unterscheiden. Ich persönlich mag ‘Matador’ für den Frühling und ‘Winter Giant’ für den Herbst.
* Pflanzgefäße (optional): Wenn du keinen Garten hast, brauchst du Töpfe, Balkonkästen oder andere Behälter mit Abzugslöchern.
* Gartenerde: Verwende hochwertige, gut durchlässige Erde. Du kannst auch Kompost untermischen, um die Nährstoffversorgung zu verbessern.
* Kompost oder organischer Dünger: Spinat ist ein Starkzehrer und freut sich über eine Extraportion Nährstoffe.
* Gießkanne oder Schlauch: Für die regelmäßige Bewässerung.
* Gartenwerkzeug: Eine kleine Schaufel, eine Harke und eventuell ein Pikierstab sind hilfreich.
* Etiketten und Stift: Um deine Spinatsorten zu kennzeichnen (optional, aber empfehlenswert).
* Mulch (optional): Mulch hilft, die Feuchtigkeit im Boden zu halten und Unkraut zu unterdrücken.
Schritt-für-Schritt-Anleitung zum Anlegen deines Spinatgartens
1. Standortwahl und Vorbereitung
1. Wähle den richtigen Standort: Spinat bevorzugt einen sonnigen bis halbschattigen Standort. Im Frühling und Herbst verträgt er volle Sonne, im Sommer ist ein halbschattiger Platz ideal, um ihn vor der Mittagshitze zu schützen.
2. Bereite den Boden vor: Lockere den Boden mit einer Harke auf und entferne Steine und Unkraut. Wenn du im Garten pflanzt, arbeite Kompost oder organischen Dünger in den Boden ein. In Töpfen und Kästen verwende hochwertige Gartenerde.
3. Achte auf die Drainage: Spinat mag es feucht, aber nicht nass. Stelle sicher, dass das Wasser gut ablaufen kann, um Staunässe zu vermeiden. In Töpfen sind Abzugslöcher unerlässlich.
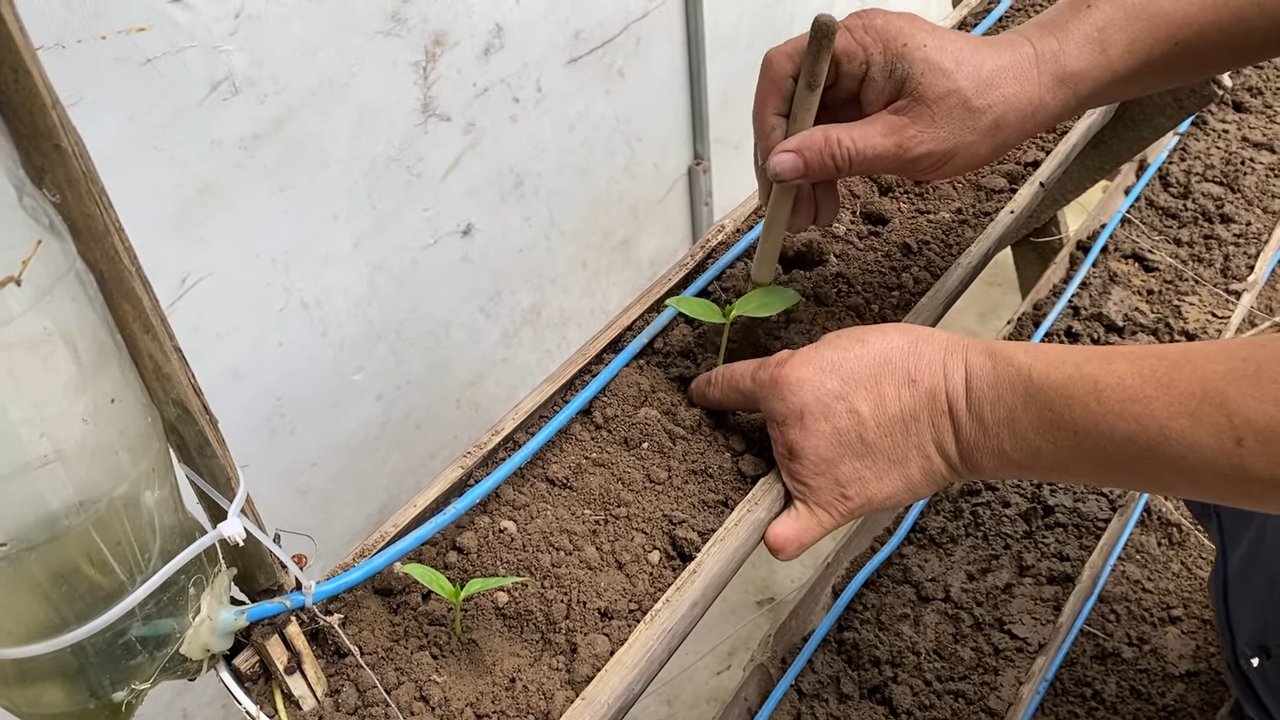
2. Aussaat der Spinatsamen
1. Der richtige Zeitpunkt: Spinat ist ein Kaltkeimer, das heißt, er keimt am besten bei kühleren Temperaturen. Die ideale Aussaatzeit ist im Frühling (März/April) oder im Herbst (August/September). Du kannst auch im Winter in einem Gewächshaus oder unter Vlies aussäen.
2. Aussaat im Freiland: Ziehe mit der Harke flache Rillen in den Boden, etwa 1-2 cm tief. Der Abstand zwischen den Reihen sollte etwa 20-30 cm betragen.
3. Aussaat in Töpfen: Fülle die Töpfe mit Erde und drücke sie leicht an. Streue die Spinatsamen gleichmäßig auf die Erde.
4. Samen bedecken: Bedecke die Samen mit einer dünnen Schicht Erde und drücke sie leicht an.
5. Bewässern: Gieße die Erde vorsichtig an, damit die Samen nicht weggeschwemmt werden. Verwende am besten eine Gießkanne mit Brauseaufsatz.
6. Beschriften: Beschrifte die Reihen oder Töpfe mit dem Namen der Spinatsorte und dem Aussaatdatum. So behältst du den Überblick.
3. Pflege deines Spinatgartens
1. Regelmäßige Bewässerung: Spinat braucht regelmäßig Wasser, besonders während der Keimung und in trockenen Perioden. Achte darauf, dass die Erde immer leicht feucht ist, aber nicht nass.
2. Unkraut jäten: Entferne regelmäßig Unkraut, das dem Spinat Nährstoffe und Licht rauben könnte.
3. Düngen: Dünge den Spinat alle paar Wochen mit Komposttee oder einem organischen Flüssigdünger. Achte darauf, die Dosierungsanleitung zu befolgen.
4. Schutz vor Schädlingen: Spinat kann von Blattläusen, Schnecken oder Erdflöhen befallen werden. Kontrolliere die Pflanzen regelmäßig und bekämpfe Schädlinge bei Bedarf mit natürlichen Mitteln. Eine Mischung aus Wasser und Schmierseife kann gegen Blattläuse helfen. Schneckenkorn oder Kaffeesatz halten Schnecken fern.
5. Schutz vor Hitze: Im Sommer kann Spinat schnell in Blüte gehen (sogenanntes “Schiessen”), was den Geschmack beeinträchtigt. Schütze die Pflanzen vor der Mittagshitze, indem du sie mit einem Schattiernetz abdeckst oder sie an einen halbschattigen Standort umpflanzt.
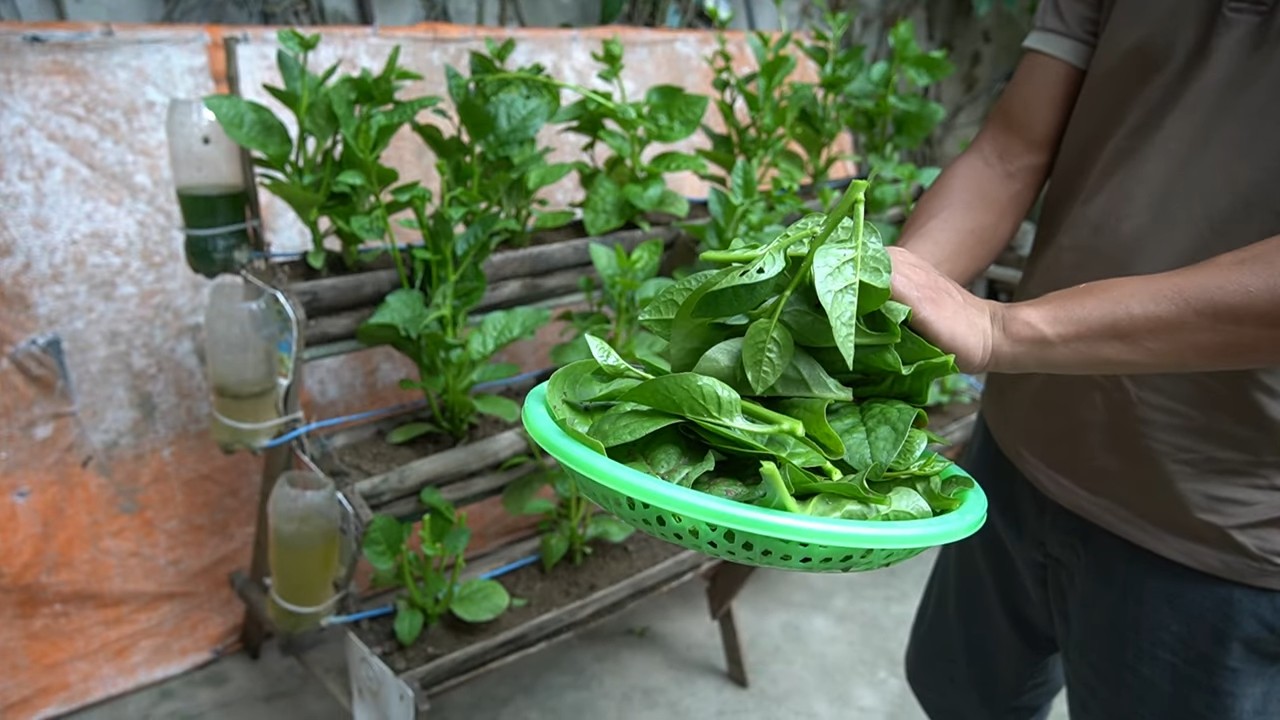
4. Ernte deines Spinats
1. Der richtige Zeitpunkt: Spinat kann geerntet werden, sobald die Blätter groß genug sind, etwa 10-15 cm lang. Die Erntezeit hängt von der Sorte und den Anbaubedingungen ab, in der Regel dauert es etwa 6-8 Wochen von der Aussaat bis zur ersten Ernte.
2. Erntemethode: Du kannst entweder einzelne Blätter abzupfen oder die ganze Pflanze knapp über dem Boden abschneiden. Wenn du nur einzelne Blätter erntest, kann die Pflanze weiterwachsen und du kannst mehrmals ernten.
3. Regelmäßige Ernte: Ernte den Spinat regelmäßig, um die Bildung neuer Blätter anzuregen und das Schiessen zu verhindern.
4. Lagerung: Frischer Spinat ist nur begrenzt haltbar. Lagere ihn im Kühlschrank in einem Plastikbeutel oder einer Frischhaltebox. Du kannst Spinat auch einfrieren, um ihn länger haltbar zu machen.
Zusätzliche Tipps und Tricks für deinen Spinatgarten
* Fruchtfolge beachten: Baue Spinat nicht jedes Jahr am selben Standort an, um Krankheiten und Schädlingen vorzubeugen. Wechsle ihn mit anderen Gemüsesorten ab.
* Begleitpflanzung: Pflanze Spinat zusammen mit anderen Gemüsesorten, die sich gegenseitig unterstützen. Gute Nachbarn sind zum Beispiel Erdbeeren, Radieschen, Salat und Kohlrabi.
* Samen selbst gewinnen: Wenn du eine besonders schöne Spinatpflanze hast, kannst du Samen gewinnen, indem du sie blühen lässt und die Samenstände trocknen lässt.
* Spinat im Topf auf dem Balkon: Auch auf dem Balkon kannst du prima Spinat anbauen. Achte auf einen ausreichend großen Topf (mindestens 20 cm Durchmesser) und verwende hochwertige Erde.
* Spinat im Winter: Mit etwas Glück und einem geschützten Standort kannst du Spinat auch im Winter ernten. Decke die Pflanzen bei Frost mit Vlies ab.
Ich hoffe, diese Anleitung hilft dir dabei, deinen eigenen Spinatgarten anzulegen. Es ist wirklich einfacher als du denkst und die frischen, selbst geernteten Blätter sind einfach unschlagbar. Viel Spaß beim Gärtnern! Und denk daran: Auch wenn mal etwas nicht klappt, lass dich nicht entmutigen. Gärtnern ist ein Lernprozess und jede Saison bringt neue Erfahrungen.
Conclusion
So, there you have it! Creating your own spinach garden DIY project is not just a fun weekend activity; it’s an investment in your health, your wallet, and your connection to nature. We’ve walked you through the simple steps, highlighted the benefits, and hopefully, inspired you to ditch the grocery store spinach and embrace the joy of homegrown goodness.
Why is this a must-try? Because fresh, organic spinach, picked straight from your garden, tastes infinitely better than anything you can buy. The vibrant color, the crisp texture, and the burst of flavor are simply unmatched. Plus, you have complete control over what goes into your spinach – no pesticides, no herbicides, just pure, natural goodness. Beyond the taste, consider the cost savings. Over time, growing your own spinach will significantly reduce your grocery bill, especially if you’re a regular spinach consumer. And let’s not forget the environmental benefits. By growing your own food, you’re reducing your carbon footprint and supporting sustainable practices.
But the best part? The satisfaction of nurturing something from seed to harvest. There’s a unique sense of accomplishment that comes with growing your own food, a connection to the earth that’s both grounding and rewarding. It’s a therapeutic activity that can help reduce stress and improve your overall well-being.
Looking for variations? Absolutely! Consider these ideas to personalize your spinach garden:
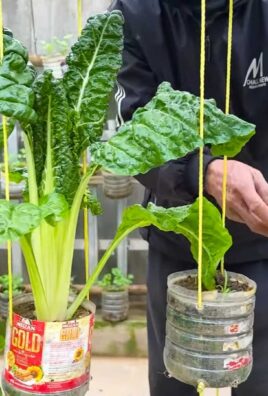
* Vertical Spinach Garden: If you’re short on space, a vertical garden is a fantastic option. Use stacked planters, hanging baskets, or even repurposed pallets to create a stunning and productive spinach display.
* Container Gardening: Spinach thrives in containers, making it perfect for balconies, patios, or even indoor spaces with sufficient sunlight. Choose a container that’s at least 6 inches deep and ensure it has good drainage.
* Succession Planting: To enjoy a continuous harvest of spinach, practice succession planting. Sow new seeds every few weeks to ensure a steady supply of fresh leaves throughout the growing season.
* Companion Planting: Plant spinach alongside other vegetables like radishes, lettuce, and strawberries. These companion plants can help deter pests and improve the overall health of your garden.
* Different Spinach Varieties: Experiment with different types of spinach, such as savoy, semi-savoy, and flat-leaf varieties. Each type has its own unique flavor and texture, so find the ones you enjoy most.
We’re confident that you’ll love the experience of growing your own spinach. It’s a simple, rewarding, and delicious way to connect with nature and improve your health. So, grab your seeds, prepare your soil, and get ready to enjoy the freshest, most flavorful spinach you’ve ever tasted.
We can’t wait to hear about your spinach garden adventures! Share your photos, tips, and experiences in the comments below. Let’s create a community of spinach-loving gardeners and inspire others to embrace the joy of homegrown goodness. Happy gardening!
Frequently Asked Questions (FAQ)
What is the best time of year to plant spinach?
Spinach is a cool-season crop, meaning it thrives in cooler temperatures. The best time to plant spinach is in early spring or late summer/early fall. In the spring, plant as soon as the soil can be worked, typically a few weeks before the last expected frost. For a fall harvest, plant about 6-8 weeks before the first expected frost. Avoid planting spinach during the hottest months of summer, as high temperatures can cause it to bolt (go to seed) and become bitter.
How much sunlight does spinach need?
Spinach needs at least 3-6 hours of sunlight per day to thrive. While it can tolerate some shade, especially during the hottest part of the day, insufficient sunlight can result in leggy growth and reduced yields. If you’re growing spinach indoors, supplement with grow lights to ensure it receives adequate light.
What kind of soil is best for growing spinach?
Spinach prefers well-drained soil that is rich in organic matter. The ideal soil pH is between 6.5 and 7.0. Before planting, amend the soil with compost, aged manure, or other organic materials to improve its fertility and drainage. Avoid heavy clay soils, as they can become waterlogged and inhibit root growth.
How often should I water my spinach plants?
Spinach needs consistent moisture to thrive. Water deeply and regularly, especially during dry periods. Aim to keep the soil consistently moist but not waterlogged. Avoid overhead watering, as it can promote fungal diseases. Instead, water at the base of the plants or use a soaker hose.
How do I fertilize my spinach plants?
Spinach is a heavy feeder, so it benefits from regular fertilization. Before planting, incorporate a slow-release fertilizer into the soil. During the growing season, side-dress with a nitrogen-rich fertilizer every few weeks. Alternatively, you can use a liquid fertilizer, such as fish emulsion or compost tea, to provide a quick boost of nutrients.
How do I harvest spinach?
You can begin harvesting spinach leaves as soon as they are large enough to eat, typically about 4-6 weeks after planting. Harvest the outer leaves first, leaving the inner leaves to continue growing. You can either cut the leaves with scissors or gently snap them off at the base of the plant. Regular harvesting encourages continued production.
What are some common pests and diseases that affect spinach?
Spinach is susceptible to several pests and diseases, including aphids, leaf miners, flea beetles, and downy mildew. To prevent pest and disease problems, practice good garden hygiene, such as removing weeds and debris, and providing adequate air circulation. Use organic pest control methods, such as insecticidal soap or neem oil, to control pests. Choose disease-resistant spinach varieties to minimize the risk of disease.
How do I prevent spinach from bolting?
Bolting is when spinach plants prematurely go to seed, which can make the leaves bitter and unpalatable. To prevent bolting, plant spinach in early spring or late summer/early fall, avoid planting during the hottest months of summer, and provide adequate shade during hot weather. Choose bolt-resistant spinach varieties and harvest regularly to encourage continued leaf production.
Can I grow spinach indoors?
Yes, you can grow spinach indoors, provided you have adequate light and space. Choose a container that is at least 6 inches deep and fill it with well-draining potting mix. Place the container in a sunny location or supplement with grow lights. Water regularly and fertilize as needed.
How do I store harvested spinach?
To store harvested spinach, wash it thoroughly and pat it dry. Wrap the spinach in a paper towel and store it in a plastic bag in the refrigerator. Spinach can be stored for up to a week, but it’s best to use it as soon as possible for the best flavor and texture.


Leave a Comment