
Winged Bean Growing Guide: Your Journey to a Bountiful Harvest
Have you ever dreamt of having a vibrant, flourishing garden bursting with fresh, homegrown produce? I know I have! That’s why I’m so excited to share my Winged Bean Growing Guide with you – a comprehensive guide filled with practical tips and tricks to help you cultivate this fascinating and nutritious legume. The winged bean, with its unique appearance and impressive nutritional profile, has been a staple in Southeast Asian cuisine for centuries, playing a significant role in the region’s culinary heritage and agricultural practices. Its history stretches back thousands of years, with evidence suggesting cultivation dating back to pre-Columbian times.
But this isn’t just a historical deep dive; this Winged Bean Growing Guide is your passport to a rewarding gardening experience. Why bother growing your own winged beans? Well, for starters, nothing beats the taste of freshly harvested vegetables! The vibrant, slightly nutty flavor of winged beans is unparalleled, and knowing exactly where your food comes from offers a level of satisfaction you just can’t get from the supermarket. Beyond the deliciousness, growing your own winged beans allows you to control the quality and reduce your environmental impact by minimizing transportation and packaging waste.
Why This Guide is Essential
This guide will walk you through every step of the process, from selecting the right seeds and preparing the soil to harvesting and preserving your bountiful crop. We’ll cover everything from dealing with common pests and diseases to maximizing your yield. Whether you’re a seasoned gardener or a complete beginner, this Winged Bean Growing Guide will empower you to successfully cultivate this incredible plant and enjoy the fruits (or should I say, beans!) of your labor. So, let’s get started on your journey to a thriving winged bean patch!
Growing Winged Beans: A Comprehensive DIY Guide
Winged beans are a fascinating and rewarding crop to grow, offering both beautiful flowers and nutritious pods. This guide will walk you through the entire process, from seed to harvest. Let’s get started!
Phase 1: Planning and Preparation
- Choose your location: Winged beans need plenty of sunshine – at least six hours a day. Select a sunny spot in your garden with well-drained soil. Poor drainage can lead to root rot.
- Soil preparation: Winged beans prefer slightly acidic to neutral soil (pH 6.0-7.0). Amend heavy clay soils with compost or other organic matter to improve drainage and aeration. Sandy soils benefit from the addition of organic matter to retain moisture.
- Seed starting: You can direct sow winged bean seeds or start them indoors 2-3 weeks before the last expected frost. If starting indoors, use small pots or seed trays filled with a seed-starting mix.
- Seed selection: Choose high-quality seeds from a reputable supplier. Check for any signs of damage or disease before planting.
- Tools and materials: Gather your gardening tools: trowel, hand rake, watering can, and garden gloves. You’ll also need seeds, soil amendments (if necessary), and plant markers.
Phase 2: Sowing the Seeds
- Direct sowing: If direct sowing, plant seeds 1-2 inches deep and 2-3 feet apart in rows spaced 3-4 feet apart. This spacing allows for the plants to spread without overcrowding.
- Starting indoors: If starting indoors, sow one or two seeds per pot or cell. Gently cover with seed-starting mix. Keep the soil consistently moist but not soggy.
- Germination: Winged bean seeds typically germinate within 1-3 weeks, depending on temperature and soil conditions. Maintain a warm temperature (70-80°F) for optimal germination.
- Hardening off (for indoor starts): Once seedlings have developed several true leaves (not the initial cotyledons), gradually acclimate them to outdoor conditions over a week or two before transplanting. This process prevents transplant shock.
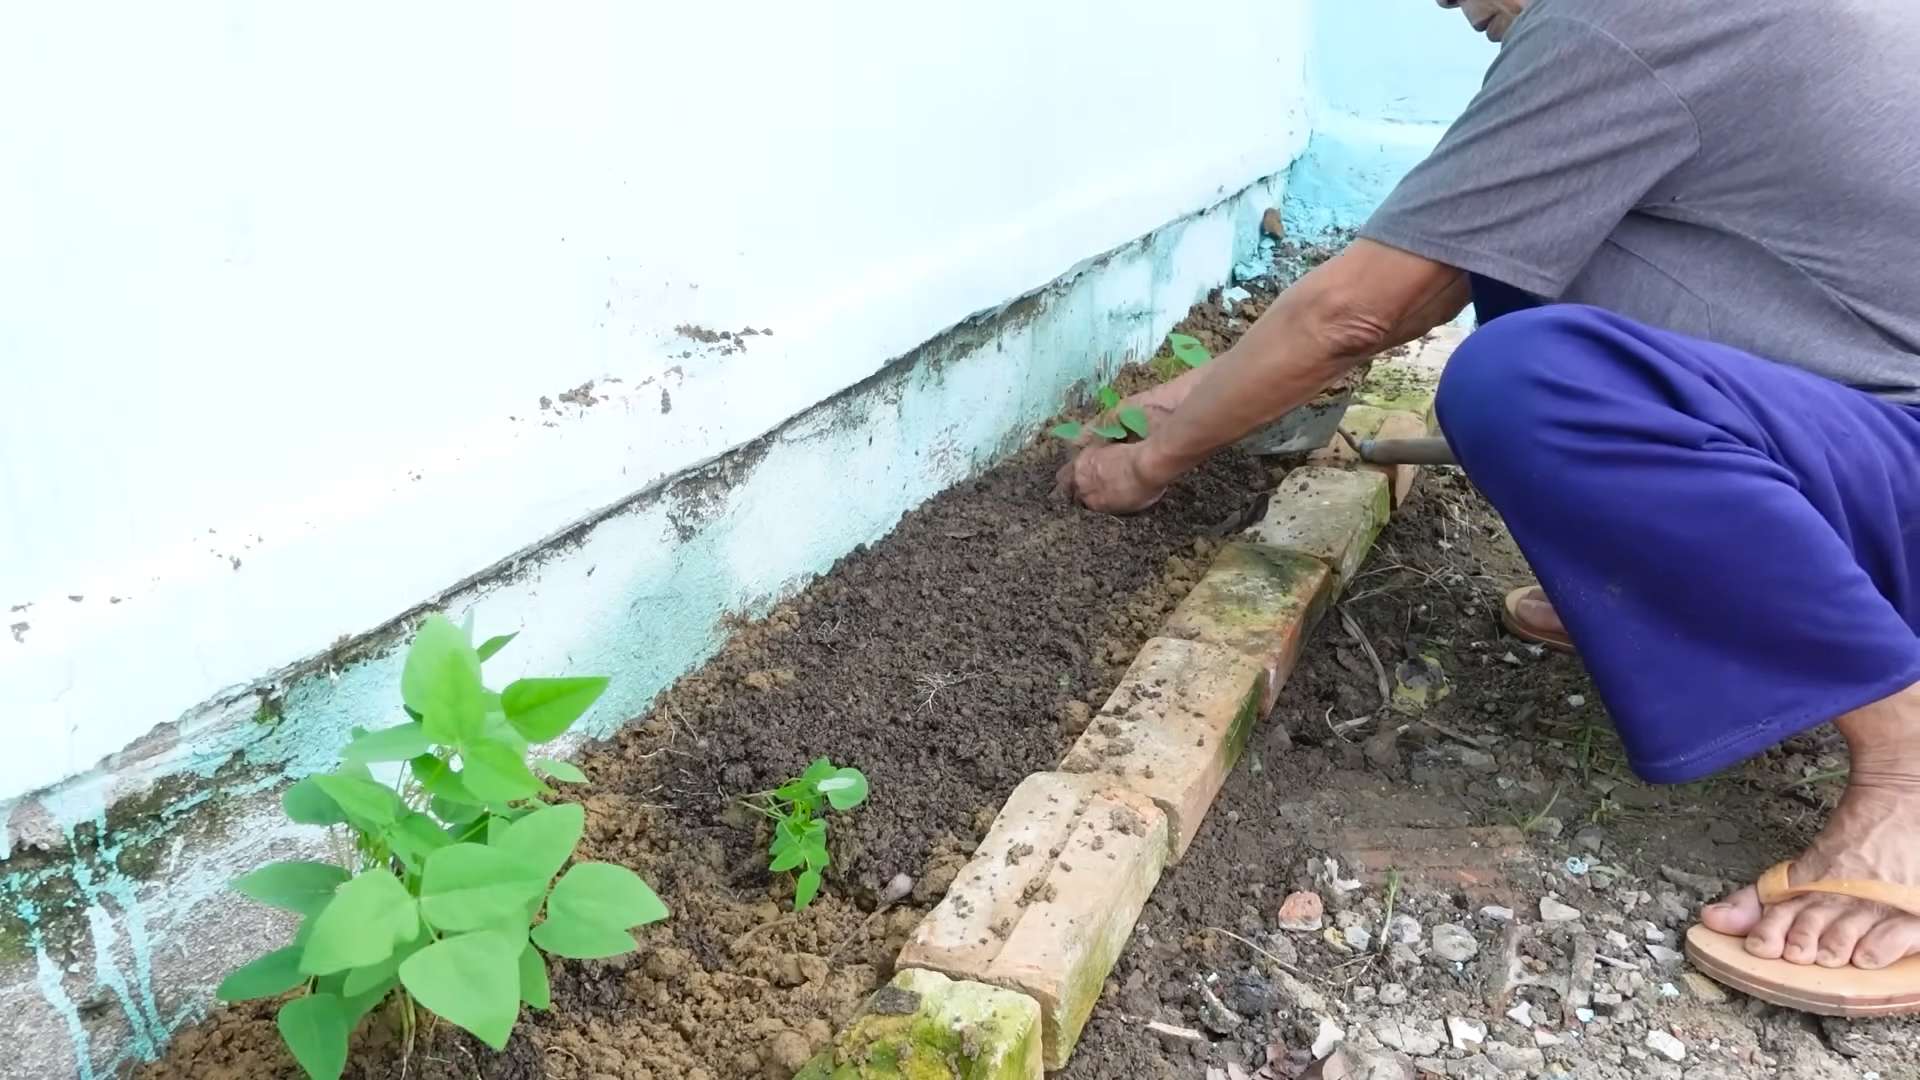
- Transplanting: Transplant seedlings outdoors after the last frost, spacing them as described in step 1. Gently remove seedlings from their pots, being careful not to damage the roots. Plant them at the same depth they were growing in their pots.
Phase 3: Ongoing Care and Maintenance
- Watering: Water regularly, especially during dry periods. Aim for consistent moisture, avoiding both overwatering and underwatering. Water deeply and less frequently rather than shallowly and often.
- Fertilizing: Winged beans are relatively low-maintenance plants, but a balanced fertilizer can promote vigorous growth and higher yields. Apply a slow-release fertilizer at planting or use a liquid fertilizer every 2-4 weeks during the growing season. Follow the instructions on the fertilizer packaging.
- Weeding: Regularly remove weeds to prevent competition for water and nutrients. Mulching around the plants can help suppress weed growth.
- Pest and disease control: Winged beans are generally pest-resistant, but monitor your plants for any signs of pests or diseases. Address any issues promptly using appropriate organic or chemical controls, following label instructions carefully.
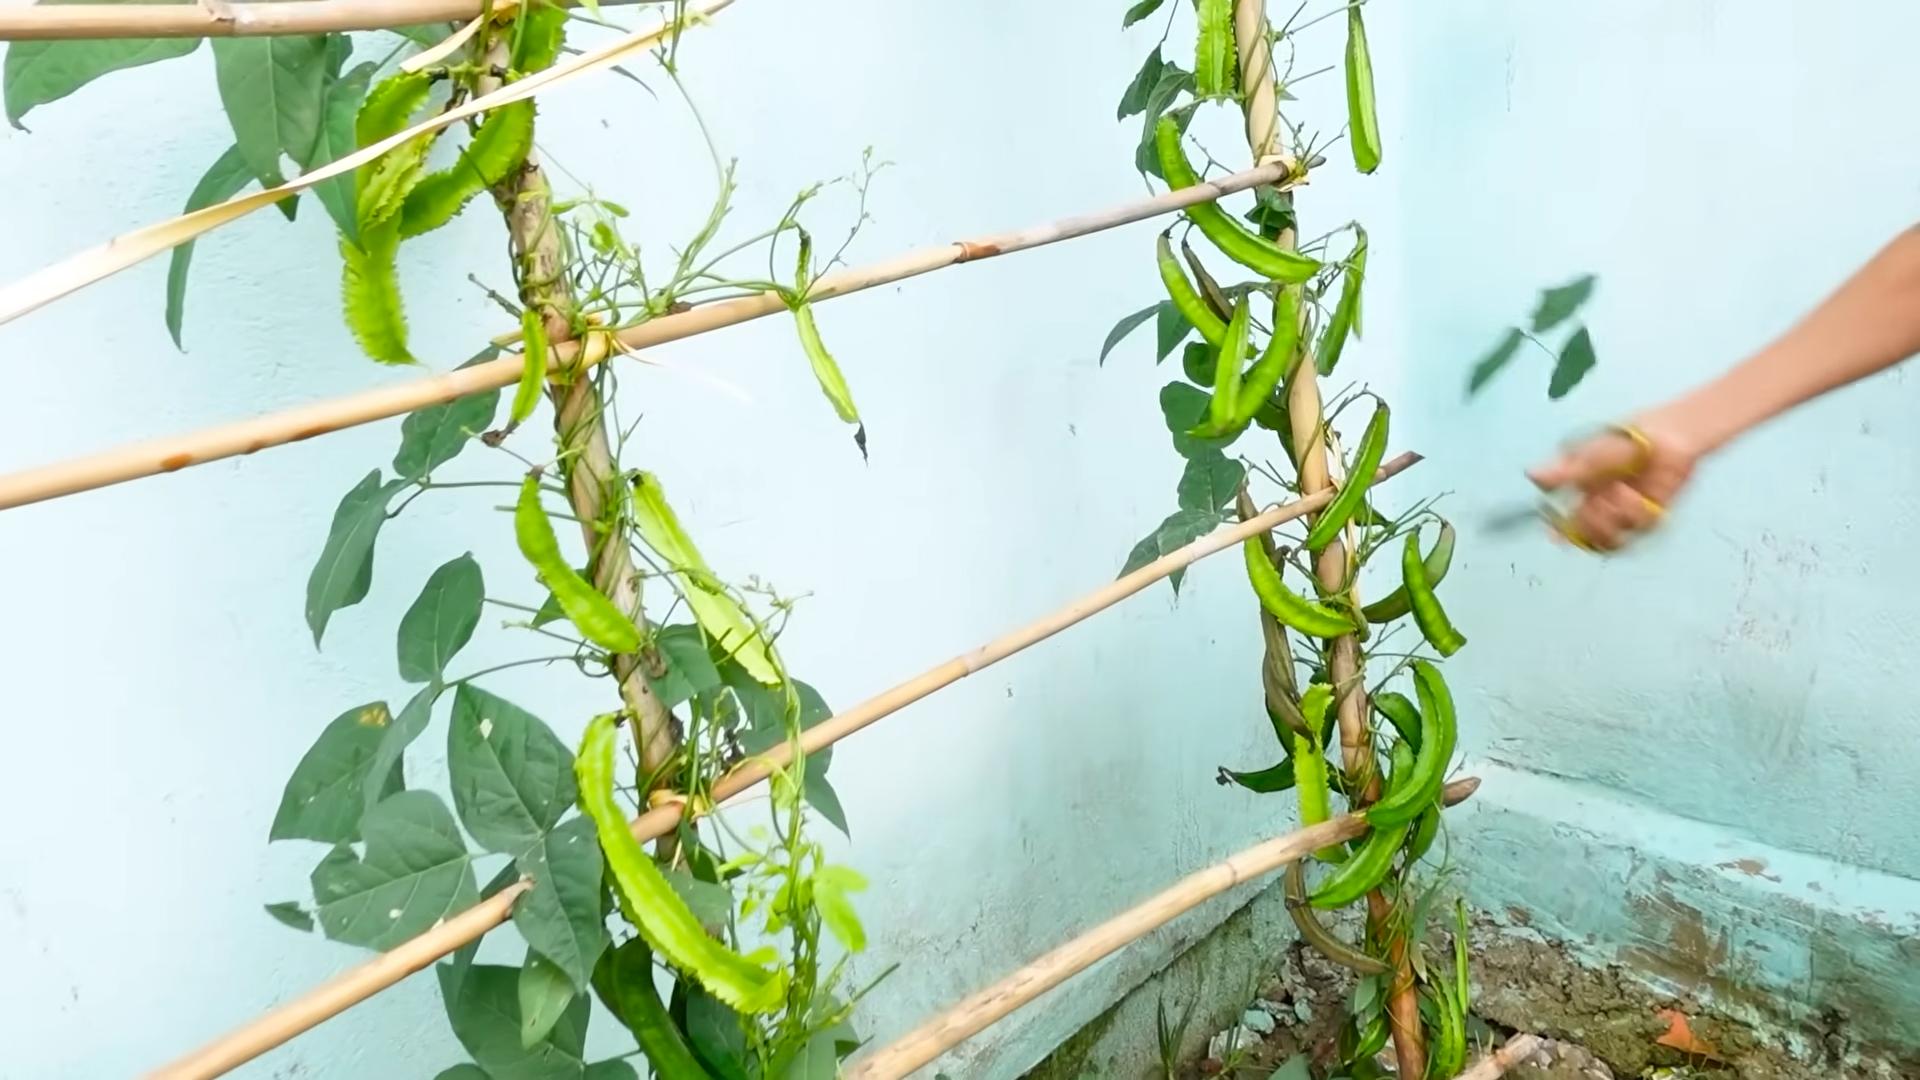
- Support structures: Winged beans are vigorous climbers. Provide support structures such as trellises, stakes, or fences to help the plants climb and prevent them from sprawling on the ground. This also improves air circulation, reducing the risk of fungal diseases.
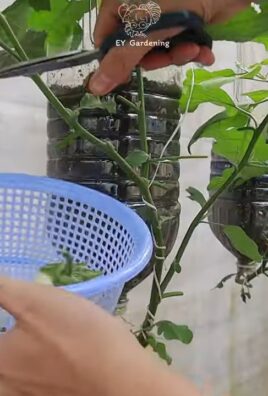
- Pruning: Pruning isn’t strictly necessary, but you can pinch back the growing tips to encourage bushier growth and more flowering. Remove any dead or damaged stems or leaves.
Phase 4: Harvesting
- Harvesting the pods: Winged bean pods are ready for harvest when they are young and tender, typically 4-6 weeks after flowering. The pods should be firm and bright green. Harvest regularly to encourage continued production.
- Harvesting the seeds: Allow some pods to mature fully on the plant for seed saving. Mature pods will turn brown and dry. Collect the seeds from the dried pods and store them in a cool, dry place for future planting.
- Harvesting the flowers: The flowers are also edible and can be used in salads or as a garnish. Harvest them when they are fresh and vibrant.
- Storage: Fresh winged bean pods should be refrigerated and used within a few days. Dried seeds can be stored in airtight containers for several months.
Phase 5: Troubleshooting
Common Problems and Solutions:
- Yellowing leaves: This could indicate nutrient deficiencies, overwatering, or pest infestations. Check the soil for nutrient levels and adjust watering accordingly. Inspect for pests and treat if necessary.
- Poor flowering: Insufficient sunlight, lack of nutrients, or unfavorable temperatures can reduce flowering. Ensure adequate sunlight and fertilization. Adjust watering if necessary.
- Root rot: Poor drainage is the main cause. Improve soil drainage by adding organic matter and avoid overwatering.
- Pest infestations: Common pests include aphids, bean beetles, and spider mites. Use appropriate organic or chemical controls, following label instructions carefully.
Remember to always research the best pest and disease control methods for your specific region and follow all safety guidelines when using any chemicals.
With a little care and attention, you’ll be enjoying a bountiful harvest of delicious and nutritious winged beans in no time. Happy gardening!
Conclusion
So there you have it – your comprehensive guide to successfully growing winged beans! This DIY approach to cultivating these nutritious and versatile legumes offers a rewarding experience for gardeners of all levels. From the satisfying act of planting the seeds to the joy of harvesting your own bountiful crop, the entire process is incredibly fulfilling. The ease and affordability of this method make it a must-try for anyone looking to add a unique and healthy element to their diet or garden. Winged bean cultivation is not just about growing food; it’s about connecting with nature and enjoying the fruits (or rather, the beans!) of your labor. The unique flavor and nutritional profile of winged beans make them a fantastic addition to any meal, and knowing you grew them yourself adds an extra layer of satisfaction.
Beyond the basic method outlined, there are numerous ways to personalize your winged bean growing experience. Experiment with different companion plants to enhance growth and deter pests. Consider using trellises of varying heights and designs to optimize space and support the climbing nature of the plant. You can also explore different varieties of winged beans, each offering unique characteristics in terms of color, size, and flavor. Some varieties are even particularly resistant to certain diseases or pests, making them ideal for specific climates or growing conditions. Don’t be afraid to get creative! Try different soil compositions, watering techniques, and even explore the possibility of growing winged beans in containers if you have limited space. The possibilities are truly endless.
We strongly encourage you to embark on this exciting journey of winged bean cultivation. Share your experiences with us and the wider gardening community! Post pictures of your thriving plants and delicious recipes on social media using the hashtag #WingedBeanWonder. Let’s build a supportive network of winged bean enthusiasts, sharing tips, tricks, and the joy of harvesting this amazing crop. Your success story could inspire others to try their hand at growing these incredible beans, contributing to a more sustainable and flavorful food system. Remember, even small successes in your garden can bring immense satisfaction, and the rewards of homegrown winged beans are truly unparalleled. So, grab your seeds, prepare your soil, and get ready to experience the magic of growing your own winged beans!
Frequently Asked Questions
What type of soil is best for growing winged beans?
Winged beans thrive in well-drained, fertile soil with a slightly acidic to neutral pH (6.0-7.0). Amend heavy clay soils with organic matter like compost to improve drainage and aeration. Sandy soils may benefit from the addition of organic matter to retain moisture. A soil test can help determine the precise needs of your garden.
How much sunlight do winged beans need?
Winged beans require at least six hours of direct sunlight per day for optimal growth. Choose a location in your garden that receives ample sunlight, especially during the crucial early stages of growth. Partial shade during the hottest part of the day might be beneficial in extremely hot climates.
How often should I water my winged beans?
Consistent moisture is crucial for healthy winged bean growth. Water deeply and regularly, especially during dry periods. Aim to keep the soil consistently moist but not waterlogged. The frequency of watering will depend on factors such as climate, soil type, and the amount of rainfall. Observe the soil moisture level and adjust your watering schedule accordingly.
When can I harvest my winged beans?
The timing of your winged bean harvest depends on the specific variety and growing conditions. Generally, you can start harvesting young pods when they are tender and about 6-8 inches long. For mature beans, wait until the pods are fully developed and have turned brown and dry. You can also harvest the leaves and flowers for culinary use.
What are some common pests and diseases that affect winged beans?
Winged beans are relatively pest-resistant, but they can be susceptible to certain insects and diseases. Common pests include aphids, bean beetles, and leaf miners. Diseases such as root rot and fungal leaf spots can also occur, especially in poorly drained soils or humid conditions. Regular monitoring and appropriate pest and disease management practices are essential for a healthy crop. Consider using organic pest control methods whenever possible.
Can I grow winged beans in containers?
Yes, you can grow winged beans in containers, provided they are large enough to accommodate the plant’s root system and provide adequate support for climbing. Choose containers at least 12 inches in diameter and depth. Ensure good drainage and use a well-draining potting mix. You will need to water more frequently in containers than in the ground.
What are some companion plants for winged beans?
Companion planting can enhance the growth and health of your winged beans. Good companion plants include marigolds (to deter pests), basil (to improve flavor), and sunflowers (to provide shade). Avoid planting them near plants that compete for nutrients or resources.
How can I save seeds from my winged beans for next year’s planting?
Allow the pods to fully mature on the plant until they turn brown and dry. Then, carefully collect the seeds from the dried pods. Clean the seeds and allow them to dry completely before storing them in a cool, dry place in airtight containers. Properly stored seeds can retain their viability for several years. This is a great way to continue your winged bean growing journey and save money on seeds in the future. Remember to label your seeds with the variety and harvest date.
Leave a Comment